
Hello, fellow crocheters! As autumn leaves start to fall and a hint of chill enters the air, my mind immediately goes to cozy makes and charming seasonal decorations. This year, I’m absolutely delighted to share a pattern that’s not only perfect for Halloween but also incredibly quick and satisfying to create: an adorable little amigurumi bat!
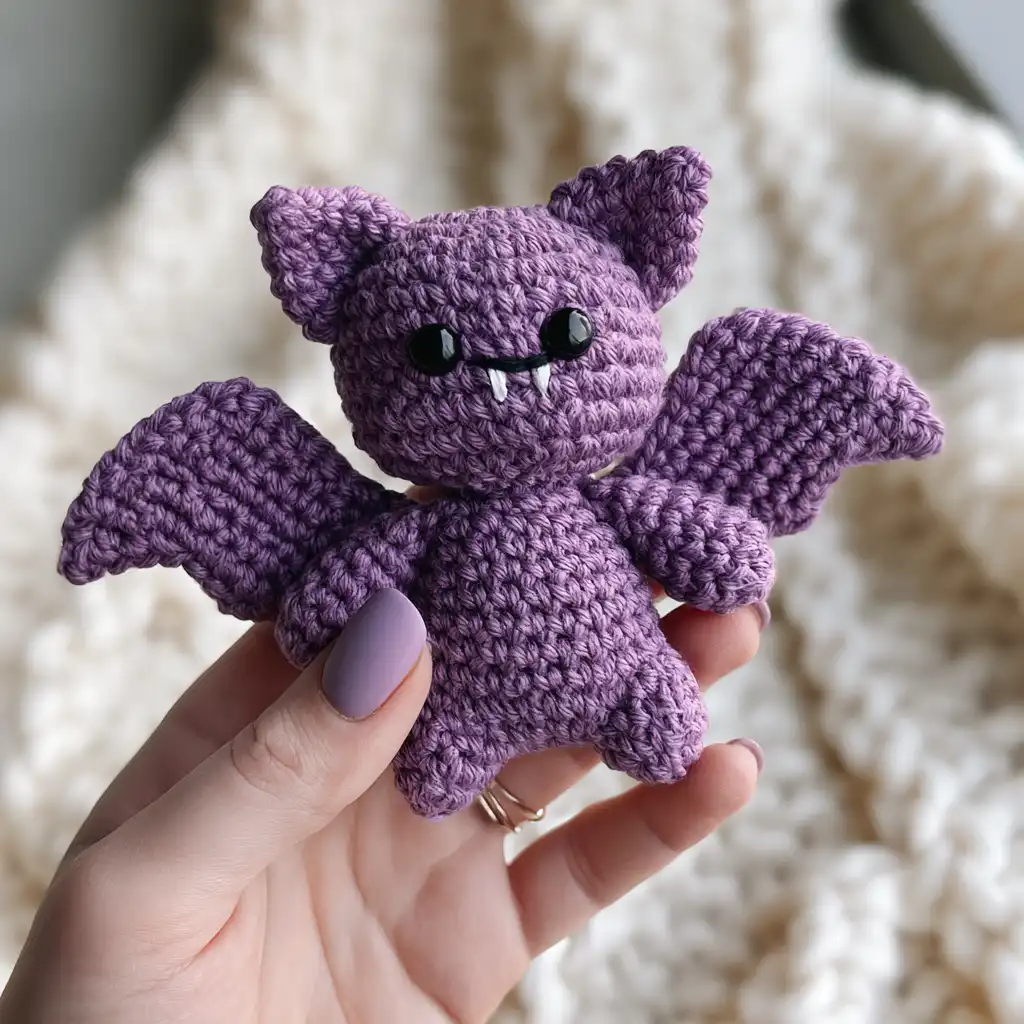
What I love most about this sweet bat is how beginner-friendly it is. If you’ve ever wanted to try amigurumi but felt intimidated, this is the perfect project to start with. It uses simple stitches – just single crochet, increases, and decreases – and the best part? The wings are crocheted right into the body, so there’s no fiddly sewing required! You can whip one up in about 40 minutes, making it ideal for last-minute decorations, party favors, or a fun gift. Imagine a whole colony of these little cuties in classic black, or mix it up with purples and oranges for a more whimsical Halloween display!
Amigurumi Bat Crochet Pattern
Materials
- Yarn:
- Bernat Blanket Yarn in Purple (for a cute, classic bat look)
- Lion Brand Velvet in Charcoal or Black (for a spooky classic)
- Hook: 6.0 mm Crochet Hook
- Safety Eyes: 12mm Safety Eyes (Yellow or Black for a spooky touch)
- Stuffing: Polyfill Stuffing
- Tapestry needle
- Scissors
- Stitch marker
Finished Size
Approximately 5 inches tall with wings extended, using bulky chenille yarn.
Yarn Information
This pattern uses bulky chenille yarn like Bernat Blanket Yarn or Lion Brand Velvet. The fluffy texture gives the bat a wonderfully soft and cuddly feel.
Hook and Tools
- 6.0 mm Crochet Hook
- 12mm Safety Eyes
- Polyfill Stuffing
- Tapestry needle
- Scissors
- Stitch marker
Abbreviations
- MR — magic ring
- sc — single crochet
- inc — increase (2 sc in same stitch)
- dec — invisible decrease
- sl st — slip stitch
- ch — chain
- rnd — round
- st(s) — stitch(es)
Pattern Notes
- This pattern is worked in continuous rounds.
- Place a stitch marker at the start of each round to keep track of your stitches.
- The head and body are made separately and then joined.
- The wings are worked in rows.
Instructions
Head
Rnd 1: 6 sc in MR. (6 sts)
Rnd 2: inc in each st around. (12 sts)
Rnd 3: (sc, inc) x 6. (18 sts)
Rnd 4: (2 sc, inc) x 6. (24 sts)
Rnd 5–8: sc in each st around. (4 rounds) (24 sts)
Insert safety eyes between Rnd 5 and 6, approximately 7 stitches apart.
Rnd 9: (2 sc, dec) x 6. (18 sts)
Stuff the head firmly now – it needs to hold its shape before joining to the body.
Rnd 10: (sc, dec) x 6. (12 sts)
Rnd 11: dec x 6. (6 sts)
Fasten off, leaving a 6-inch tail for closing and joining.
Body
Rnd 1: 6 sc in MR. (6 sts)
Rnd 2: inc in each st around. (12 sts)
Rnd 3: (sc, inc) x 6. (18 sts)
Rnd 4–9: sc in each st around. (6 rounds) (18 sts)
Begin stuffing from Rnd 7 onward.
Rnd 10: (sc, dec) x 6. (12 sts)
Rnd 11: dec x 6. (6 sts)
Fasten off, leaving a 6-inch tail.
Wings (Make 2)
Row 1: ch 11, sc in 2nd ch from hook, sc across. (10 sts) Ch 1, turn.
Row 2: inc, sc across to last st, inc. (12 sts) Ch 1, turn.
Row 3: sc across. (12 sts) Ch 1, turn.
Row 4: inc, sc across to last st, inc. (14 sts) Ch 1, turn.
Row 5: sc across. (14 sts) Ch 1, turn.
Row 6: dec, sc across to last 2 sts, dec. (12 sts) Ch 1, turn.
Row 7: dec, sc across to last 2 sts, dec. (10 sts) Ch 1, turn.
Row 8: dec, sc across to last 2 sts, dec. (8 sts)
Fasten off, leaving a long tail for sewing.
Ears (Make 2)
Rnd 1: 4 sc in MR. (4 sts)
Rnd 2: sc in each st around. (4 sts)
Rnd 3: sc in each st around. (4 sts)
Fasten off, leaving a tail for sewing.
Assembly
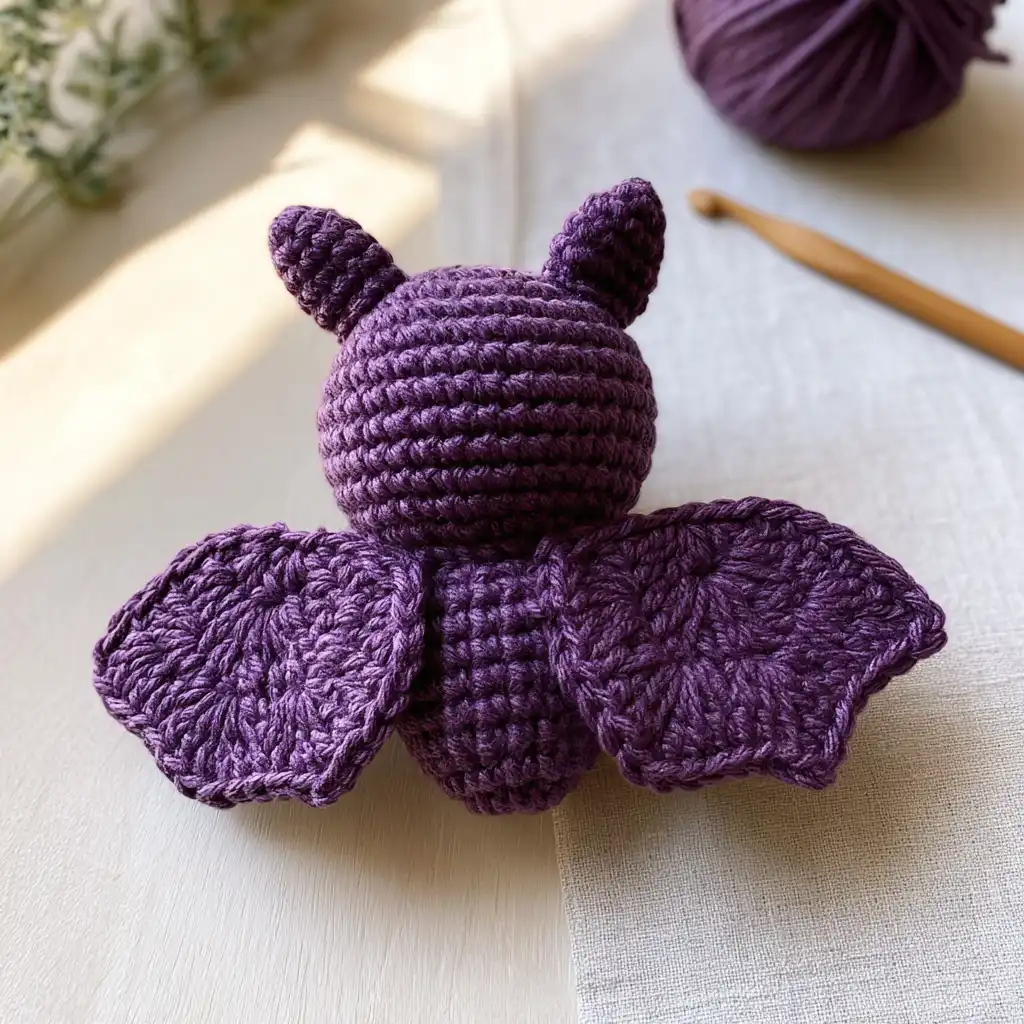
- Attach the Head to the Body: Thread the head’s tail through a tapestry needle. Position the head on top of the body, centered. Sew around the base of the head, attaching it securely to the top of the body. Weave the end through to the inside before trimming.
- Attach the Ears: Position the ears on top of the head, angled slightly outward, about 4 stitches apart at the base. Pinch each ear flat before sewing for a defined point.
- Attach the Wings: Position the wings at the upper sides of the body, just below where the head joins. Sew along the top 2–3 stitches only – let the rest of the wing hang free so it has natural movement and can be posed slightly outward.
- Mouth (Optional): With white or pink yarn, embroider two tiny fangs below the eyes for a playful spooky look.
- Finishing: Weave all remaining ends through the inside of the body before closing.
Olivia’s Tips
This little bat is such a joy to make! Here are a few tips I’ve picked up that might help you along the way:
- Lighting for Dark Yarn: If you’re using black or very dark chenille yarn, make sure you have excellent lighting. Chenille can hide stitch definition, making it tricky to see where your hook goes. A good desk lamp can make all the difference!
- Stuffing Firmness: Don’t be shy with the Polyfill, especially for the head. A firmly stuffed head will hold its shape much better and give your bat a nice, plump look.
- Wing Placement: The wings can sometimes be the trickiest part to get just right. Don’t worry if they’re not perfectly symmetrical; a little asymmetry can add character! It’s often easier to sew the wings on before you’ve fully stuffed the body, as it gives you more flexibility to position them.
- Personalize Your Bat: Don’t feel limited to black! Purple, orange, or even striped yarn could make for a truly unique bat. You could even try making a crochet pumpkin and a ghost to create a full Halloween garland!
- Making a Garland: If you want to make a bat garland, crochet 6-8 bats. Then, chain about 100 stitches, and attach each bat through the top of the head with a knotted loop, spacing them evenly. It makes for a fantastic Halloween decoration!