
Hello, fellow makers! As the leaves start to turn and there’s a crispness in the air, my thoughts always drift to cozy autumn crafts. This year, I’m so excited to share one of my absolute favorite quick projects: an adorable, super easy crochet pumpkin! It’s perfect for adding a touch of fall charm to your home, and it works up incredibly fast.
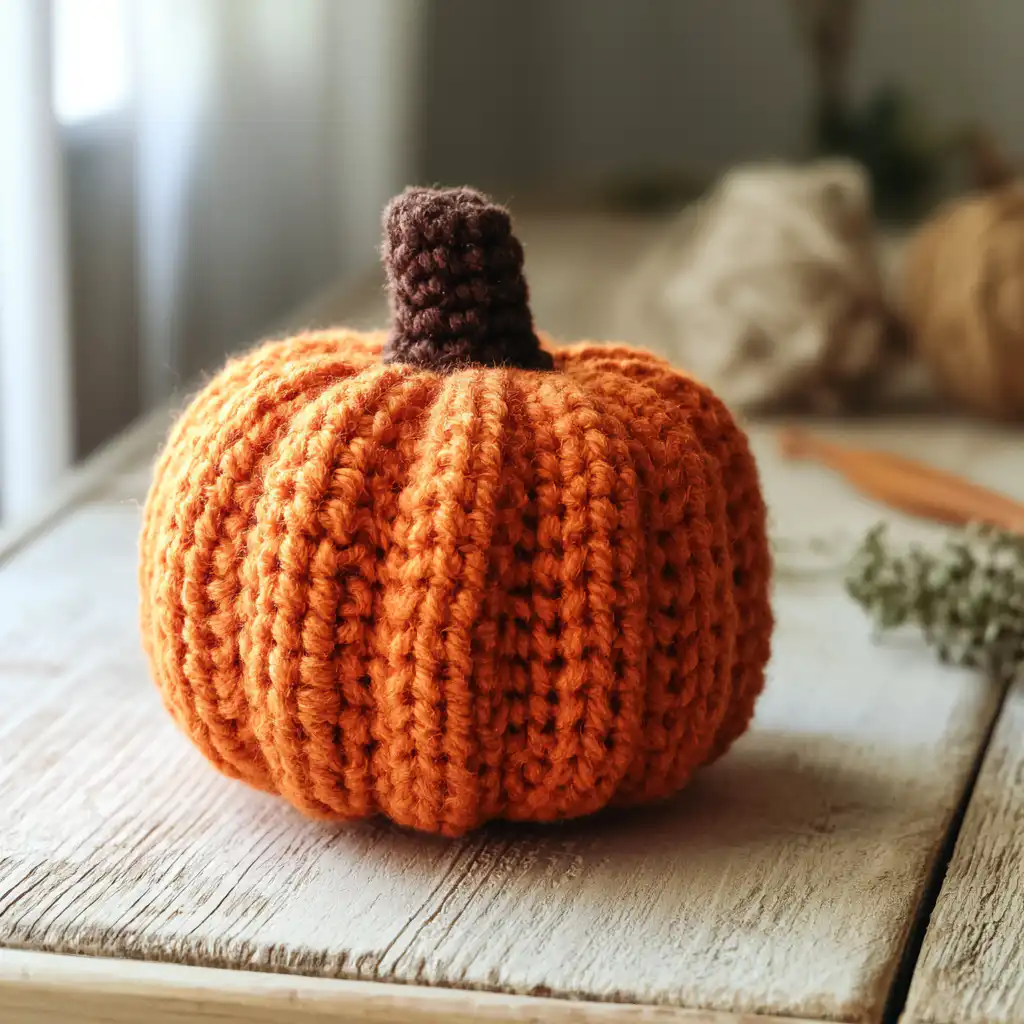
What I love most about this pumpkin pattern is how simple yet effective it is. We’re going to create that classic ridged pumpkin shape not with complicated stitch work, but with a clever cinching technique after stuffing. It’s surprisingly easy, even if you’re new to amigurumi, and it makes all the difference in giving your pumpkin that realistic, charming look. You can whip one up in about 30 minutes from start to finish, making it ideal for last-minute decorations or a fun weekend project.
Crochet Pumpkin Pattern
Materials
- Yarn:
- Bernat Blanket Yarn in Pumpkin Orange (for the pumpkin body)
- Lion Brand Velvet in Brown (for the stem)
- Any bulky chenille yarn (#6) can be used for the pumpkin body.
- Worsted weight yarn can be used for a smaller pumpkin.
- Hook: 6.0 mm Crochet Hook
- Other supplies:
- Polyfill Stuffing
- Tapestry needle (essential for cinching)
Finished Size
Approximately 4 inches wide with bulky chenille yarn.
Yarn Information
- For the main pumpkin: Bernat Blanket Yarn in Pumpkin Orange (bulky chenille, #6 weight is recommended).
- For the stem: Lion Brand Velvet in Brown.
- Substitution: Any bulky chenille yarn (#6) will work. For a smaller pumpkin, you can use worsted weight yarn.
Hook and Tools
- 6.0 mm Crochet Hook
- Polyfill Stuffing
- Tapestry needle
Abbreviations
- MR — magic ring
- sc — single crochet
- inc — increase (2 sc in same stitch)
- dec — invisible decrease
- rnd — round
- st(s) — stitch(es)
Pattern Notes
- This pattern is worked in continuous rounds.
- Place a stitch marker at the beginning of each round to keep track.
Instructions
Pumpkin Body
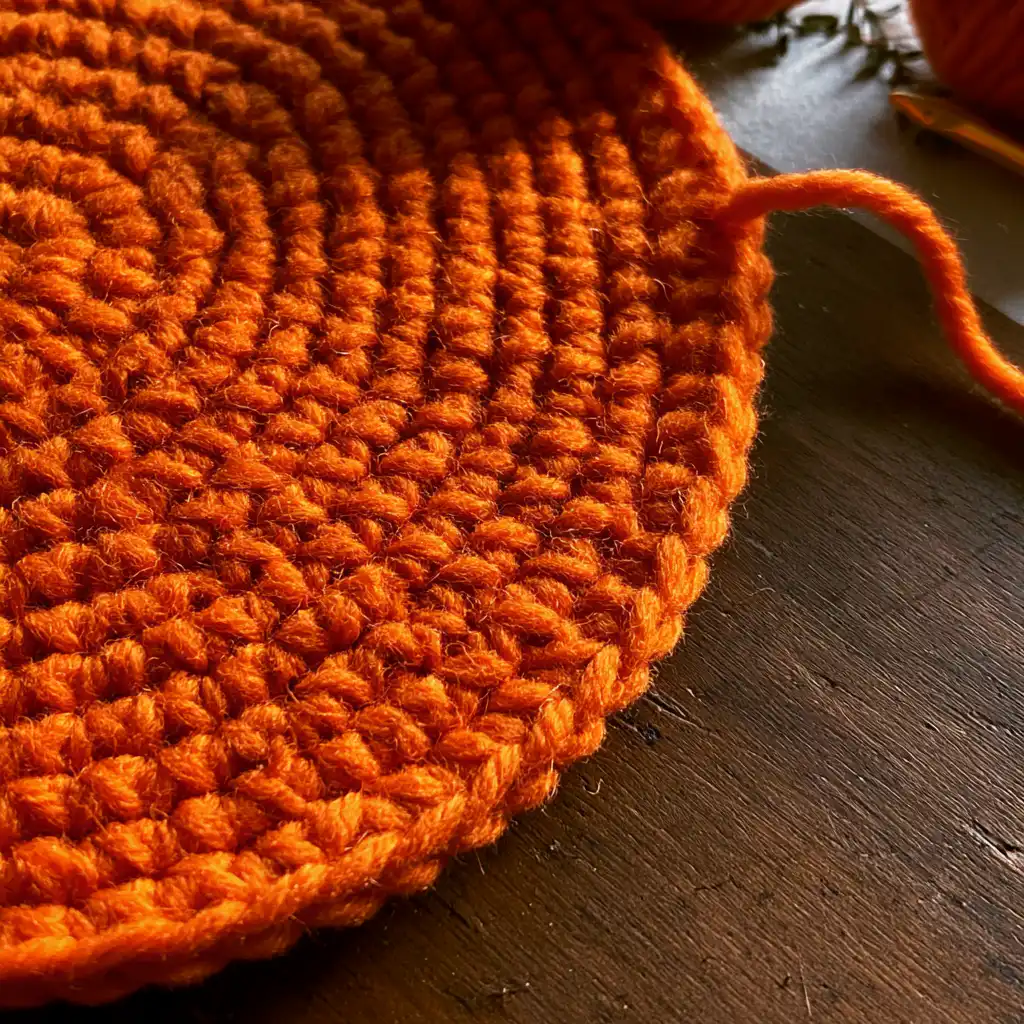
Rnd 1: 6 sc in MR. (6 sts)
Rnd 2: inc in each st around. (12 sts)
Rnd 3: (sc, inc) × 6. (18 sts)
Rnd 4: (2 sc, inc) × 6. (24 sts)
Rnd 5: (3 sc, inc) × 6. (30 sts)
Rnd 6–10: sc in each st around. (5 rounds straight) (30 sts)
Rnd 11: (3 sc, dec) × 6. (24 sts)
Rnd 12: (2 sc, dec) × 6. (18 sts)
Stop here and stuff the pumpkin body. Keep the stuffing soft and squishy, not packed tightly. A softer pumpkin will cinch into much nicer ridges.
Rnd 13: dec × 6. (6 sts)
Stem
Rnd 1: 6 sc in MR. (6 sts)
Rnd 2–4: sc in each st around. (3 rounds) (6 sts)
Finishing
Closing the Pumpkin Body
Fasten off the pumpkin body, leaving a long tail of at least 20 inches. Thread this tail through the front loop of each remaining stitch in Rnd 13, then pull to close the top opening. Do not cut the yarn yet.
Cinching the Pumpkin Ridges
This step creates the classic pumpkin shape. Thread your long tail onto a tapestry needle. Insert the needle down through the center top hole (where you just closed the pumpkin) and bring it out through the center bottom.
Observe the pumpkin body: the increases from Rnds 2–5 naturally created 6 vertical lines running from top to bottom, resembling a hexagon. These are your cinch lines.
Lay the yarn along one of these vertical lines, from top to bottom. Push the needle through the bottom center, bring it straight back up through the top center, and pull firmly. This creates one ridge.
Repeat this process for each of the 6 vertical lines, pulling each ridge with similar tension to ensure evenness.
Tie off the yarn securely at the top of the pumpkin and weave in the end.
Attaching the Stem
For the stem, fasten off, leaving a 6-inch tail. Stuff the stem lightly, just enough to help it hold its shape. Sew the stem to the center top of the pumpkin.
Final Touches
Weave all remaining ends through the inside of your pumpkin. If any ridges look uneven, gently pull the looser cinch threads a bit tighter before tying off – it’s easy to adjust while the tail is still long.
Size Adjustments
- Mini pumpkin: Use worsted weight yarn and a 4.0mm hook. Follow the same rounds; it will finish at about 2.5 inches. Perfect for garlands or clusters.
Olivia’s Tips
I find that the key to a really lovely pumpkin is in the stuffing and the cinching. Don’t be afraid to leave your pumpkin a little squishy before you cinch it; this allows the ridges to pull in deeply and create that perfect pumpkin shape. When you’re cinching, take your time and make sure you’re following those natural vertical lines created by your increases. If you’re new to this technique, using a contrasting yarn color for the cinching thread the first time can really help you see where you’re going. And remember, the longer you leave that tail for cinching, the easier it will be to manage!
FAQ
Is this crochet pumpkin pattern suitable for complete beginners?
Yes, it is designed to be very beginner-friendly. It has a simple round body, no complex shaping, and the cinching technique is straightforward once you try it.
What if my ridges look uneven?
You can adjust the tension of each ridge independently. Before tying off, pull any looser cinch threads a little tighter until all ridges look even.
Can I skip the cinching step?
While you can, the pumpkin will look like a plain orange ball without the cinching. The ridges are what give it its distinct pumpkin appearance.
What hook size should I use?
Use a 6.0mm hook with bulky chenille (#6) yarn for a 4-inch pumpkin. For a smaller, 2.5-inch pumpkin, use a 4.0mm hook with worsted weight (#4) yarn.
Can I use a different color?
Absolutely! While orange is traditional, you can use any color like white, cream, red, or even create stripes for a unique look. The cinching technique works with any yarn color.
How long does one pumpkin take to make?
On average, one pumpkin takes about 30-35 minutes to complete, including the cinching and stem attachment.