
There’s nothing quite like adding a touch of handmade charm to your home, and this sunflower coaster pattern is one of my absolute favorites! It’s such a quick and satisfying project, perfect for brightening up your coffee table or making a thoughtful gift. What I particularly love about this coaster is how accessible it is for beginners. If you know how to make a magic ring, chain, slip stitch, and double crochet, you’re all set to create something truly lovely.
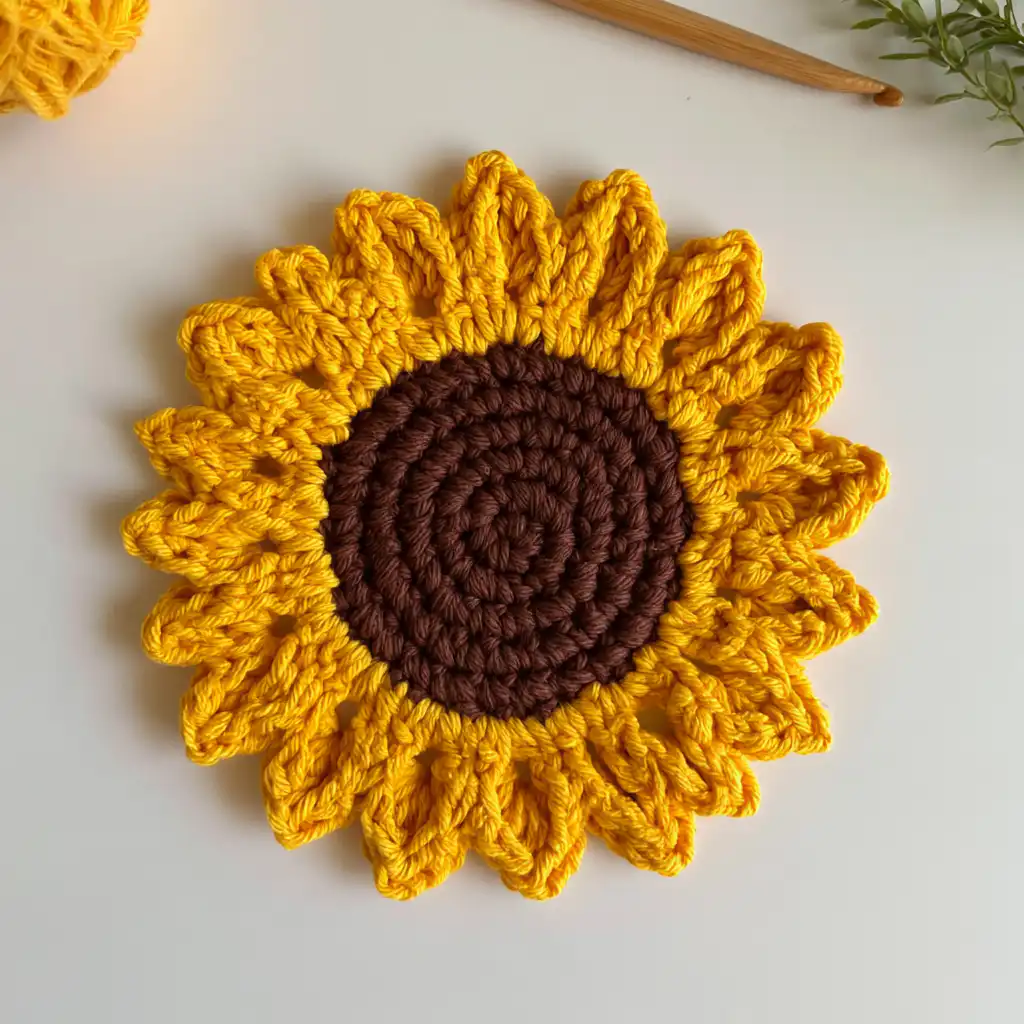
This pattern creates a beautiful, sturdy coaster that’s ideal for holding hot mugs. The design, with its distinct center and radiating petals, just makes me smile. It’s worked in rounds, starting with the solid center and then adding the cheerful petals. You can whip one up in about 45 minutes, making it a fantastic weekend project or a quick gift for friends and family. Imagine a set of these tied with a pretty ribbon – pure joy!
Sunflower Coaster Crochet Pattern
Materials
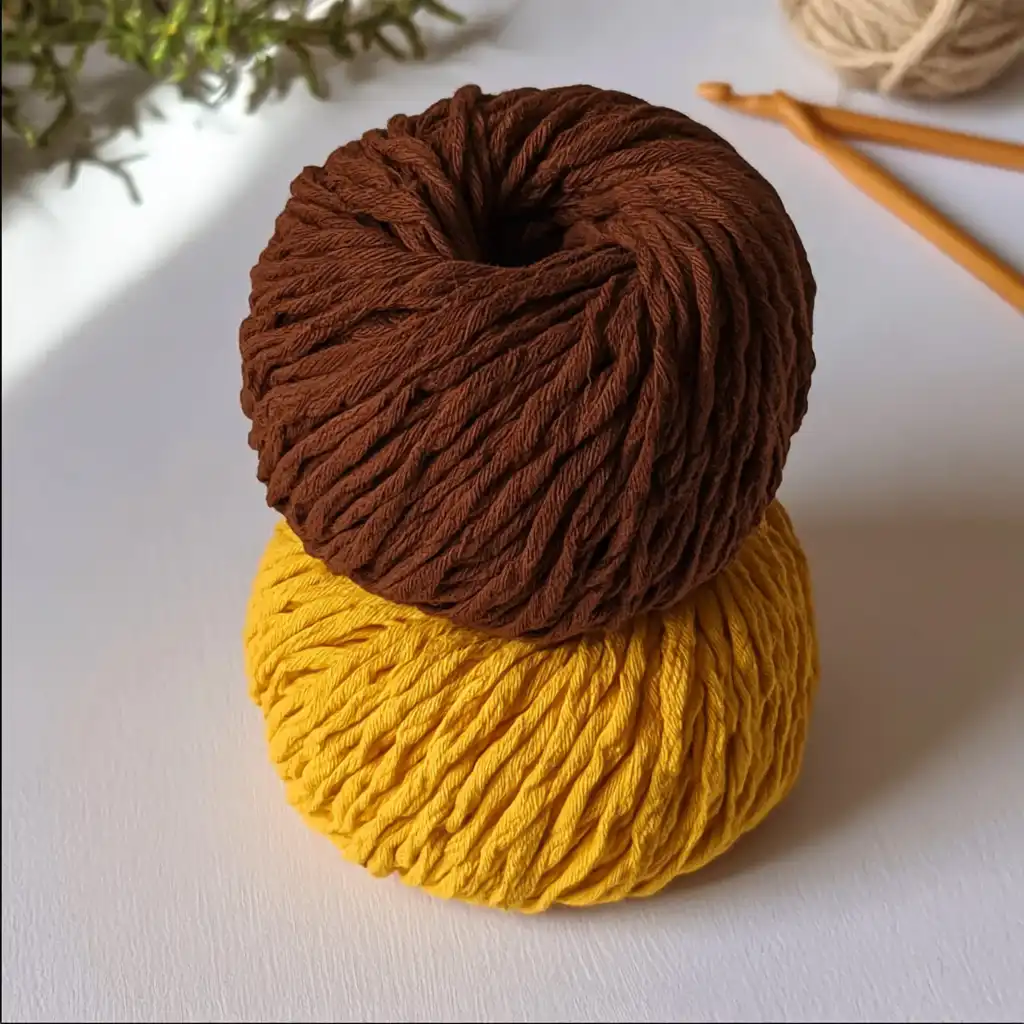
- Summer yarn (medium thickness) in dark brown and yellow, or any yarn of your choice
- 3 mm crochet hook
- Tapestry needle
- Scissors
Finished Size
12 to 14 cm (approximately 4.7 to 5.5 inches) in diameter
Yarn Information
Medium-weight cotton yarn is recommended for its heat-resistant properties, making it ideal for mug coasters. A 100g ball of cotton in each color is enough to make six to eight coasters.
Hook and Tools
- 3 mm crochet hook
- Tapestry needle
- Scissors
Abbreviations
- ch — chain
- sl st — slip stitch
- dc — double crochet
- MR — magic ring
- st — stitch
- inc — increase (2 dc in same stitch)
- rep — repeat
Pattern Notes
- Skill level: Beginner
- This pattern is worked in rounds.
- The initial ch 3 in Round 4 counts as the first dc.
- Cotton yarn is highly recommended for coasters that will hold hot drinks, as it handles heat better than acrylic.
Instructions
To Begin:
Round 1: Work 15 dc in MR. Pull the magic ring closed before joining. (15 sts)
Round 2: Inc in each st around. (30 sts)
Round 3: (1 dc, inc) repeated 15 times. (45 sts)
Switch to yellow yarn. Attach yellow yarn in any stitch on the Round 3 outer edge.
Round 4: Ch 3 (counts as the first dc), 1 dc in the same st, ch 3, 2 dc in the next st. (Skip next 2 sts, 2 dc in next st, ch 3, 2 dc in next st) repeat all the way around. Sl st to the top of the beginning ch-3 to join.
Round 5: Work in the ch-3 spaces from Round 4. In each ch-3 space, work (5 dc, ch 2, sl st into the 1st ch, 5 dc). Sl st in the next gap where 2 ch were skipped. Repeat around. You will end up with about 11 petals. Sl st into the 1st dc of the 1st petal.
Finishing
Fasten off, cut yarn, and weave in all ends. Weave the yellow tail through the back of the petal stitches until it disappears. Weave the brown tail back through the center in a small spiral to conceal it.
Olivia’s Tips
- Magic Ring Mastery: When working your 15 dc into the magic ring, make sure to pull that loop closed tightly before joining Round 2. This creates a neat, solid center that really makes your coaster look professional.
- Counting is Key: It’s so easy to get off by a stitch or two, especially in the early rounds. Always double-check your stitch counts at the end of each round (15, 30, 45). Catching an error early saves so much time later!
- Clean Color Changes: When you switch from brown to yellow, leave about a 10 cm tail on each color. Using a tapestry needle to neatly bury these tails through the back of the stitches ensures a clean finish on the front. This is especially important for the base of your petals.
- Petal Perfection: The ch-2 and sl st combination in the middle of each petal in Round 5 is what gives them that lovely pointed shape. Don’t skip the slip stitch between petals either; it’s what keeps them perfectly spaced and prevents them from leaning into each other.
- Blocking for Polish: While these coasters look great right off the hook, a quick steam press can make a big difference. Lay your coaster face-up on a towel and hover a steamer (or a steam iron) over it for about ten seconds. This flattens the petals and makes the center sit flush for a really polished look.
- Gift Ideas: A single coaster is sweet, but a set of four is a truly thoughtful gift! I love batching the centers first, then all the petals. This helps you get into a rhythm, and your set will look more uniform. Stack them, tie them with twine or ribbon, and add a small tag for a boutique feel.
4 thoughts on “Crochet a Beginner-Friendly Flower Coaster in 45 Minutes”