
Hello, fellow makers! Olivia here, and today I’m so excited to share a truly delightful project that brings a touch of nature’s charm indoors: a sweet little crochet persimmon! There’s something so satisfying about crafting tiny, realistic amigurumi, and this persimmon is no exception. Its plump, round shape and vibrant orange color instantly make me think of cozy autumn days and fresh fruit displays.
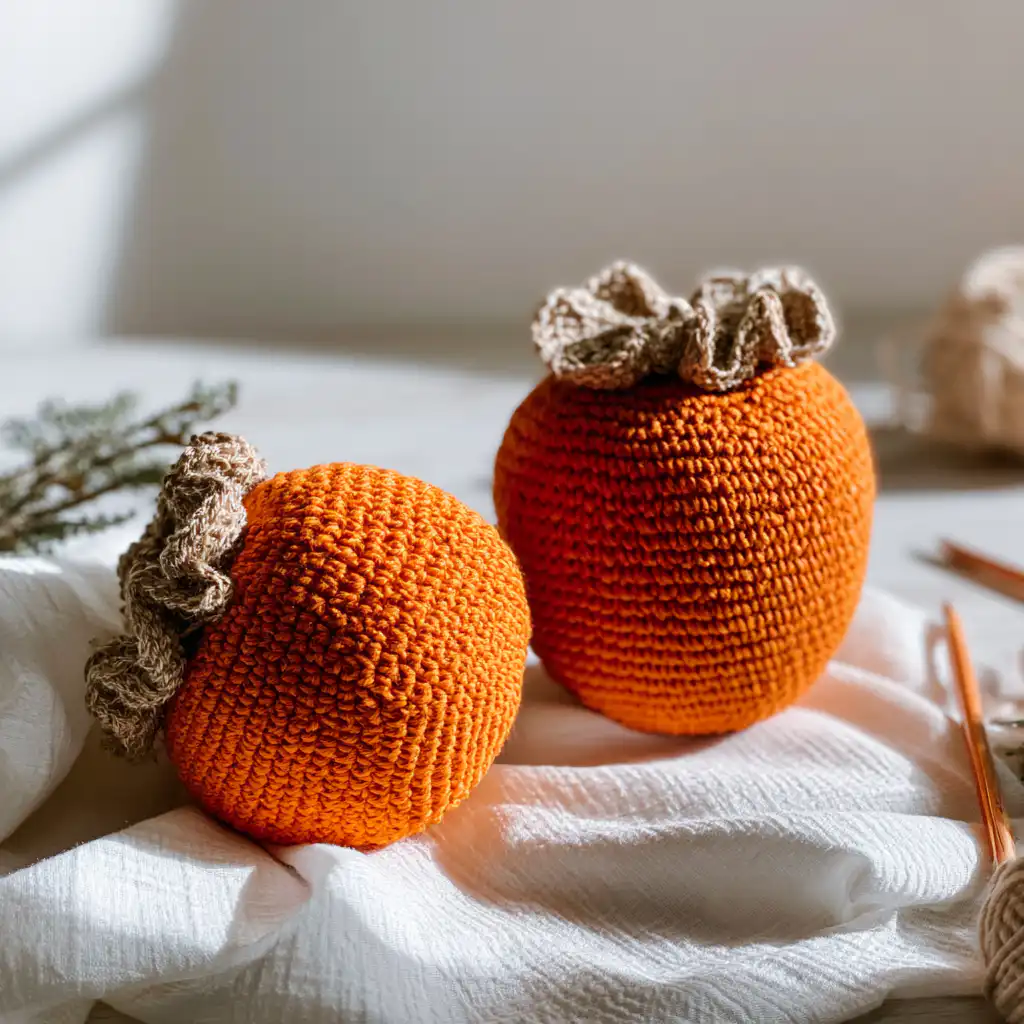
This pattern is a fantastic choice if you’re looking for a quick and rewarding project. It’s worked in continuous rounds, using simple single crochet stitches to create that lovely spherical shape. Even if you’re new to amigurumi, you’ll find the step-by-step instructions clear and easy to follow. I especially love how the small green top and stem add such a charming, natural detail, making it look just like a real persimmon. Imagine a little bowl of these on your kitchen counter, or nestled on a shelf next to your favorite plants – they add such a cheerful pop of color!
Whether you’re making it for yourself, as a thoughtful handmade gift, or to add to a collection of crochet fruits, this amigurumi persimmon is sure to bring a smile. It’s a wonderful way to practice your basic amigurumi skills like increasing and decreasing, all while creating something truly adorable.
Amigurumi Persimmon Crochet Pattern
Materials
- Orange yarn (worsted or DK weight) for persimmon body
- Brown yarn for leaf and stem
- Crochet hook suited for the yarn (approximately 3.5 mm recommended)
- Fiberfill stuffing
- Fabric glue
- Yarn needle for weaving ends
- Scissors
Finished Size
- Approximate finished persimmon size:
- Diameter: 8 cm (3.1 inches)
- Height: 8–9 cm (3.1–3.5 inches) including stem
Yarn Information
- Orange yarn (worsted or DK weight)
- Brown yarn
Hook and Tools
- Crochet hook: 3.5 mm (recommended)
- Fiberfill stuffing
- Fabric glue
- Yarn needle
- Scissors
Abbreviations
- ch — chain
- sc — single crochet
- dc — double crochet
- slst — slip stitch
- inc — increase
- dec — decrease
- st(s) — stitch(es)
Pattern Notes
- Work in continuous rounds unless specified.
- Maintain consistent tension for even stitches and smooth shaping.
- Stuff the body firmly but avoid overstuffing to keep the shape natural.
- Use fabric glue to attach the leaves and stem for durability.
- Crochet hook size and yarn weight affect final size—refer to gauge below.
Gauge
- Approximately 15 SC rounds = 5 cm (2 in) in diameter.
Special Stitches
- Magic Ring (Adjustable Ring): Creates a tightly closed starting round for 3D crochet.
- Increase (INC): Work two single crochet stitches into the same stitch to widen the piece.
- Decrease (DEC): Crochet two stitches together to narrow the piece and shape it.
Instructions
Phase 1: The Main Body (Orange Yarn)
Round 1: Begin with a magic ring, and work 6 single crochet (SC) stitches into the ring. Tighten the ring. (6 sts)
Round 2: Work 2 single crochet (SC) stitches in each stitch around, doubling stitch count. (12 sts)
Round 3: Repeat pattern: 1 SC in next stitch, 1 increase (INC) around. (18 sts)
Round 4: Work 1 SC in each stitch around without increasing. (18 sts)
Round 5: Repeat pattern: 2 SC, 1 INC around. (24 sts)
Round 6: Repeat pattern: 3 SC, 1 INC around. (30 sts)
Round 7: Work 1 SC in each stitch around without increases. (30 sts)
Round 8: Repeat pattern: 4 SC, 1 INC around. (36 sts)
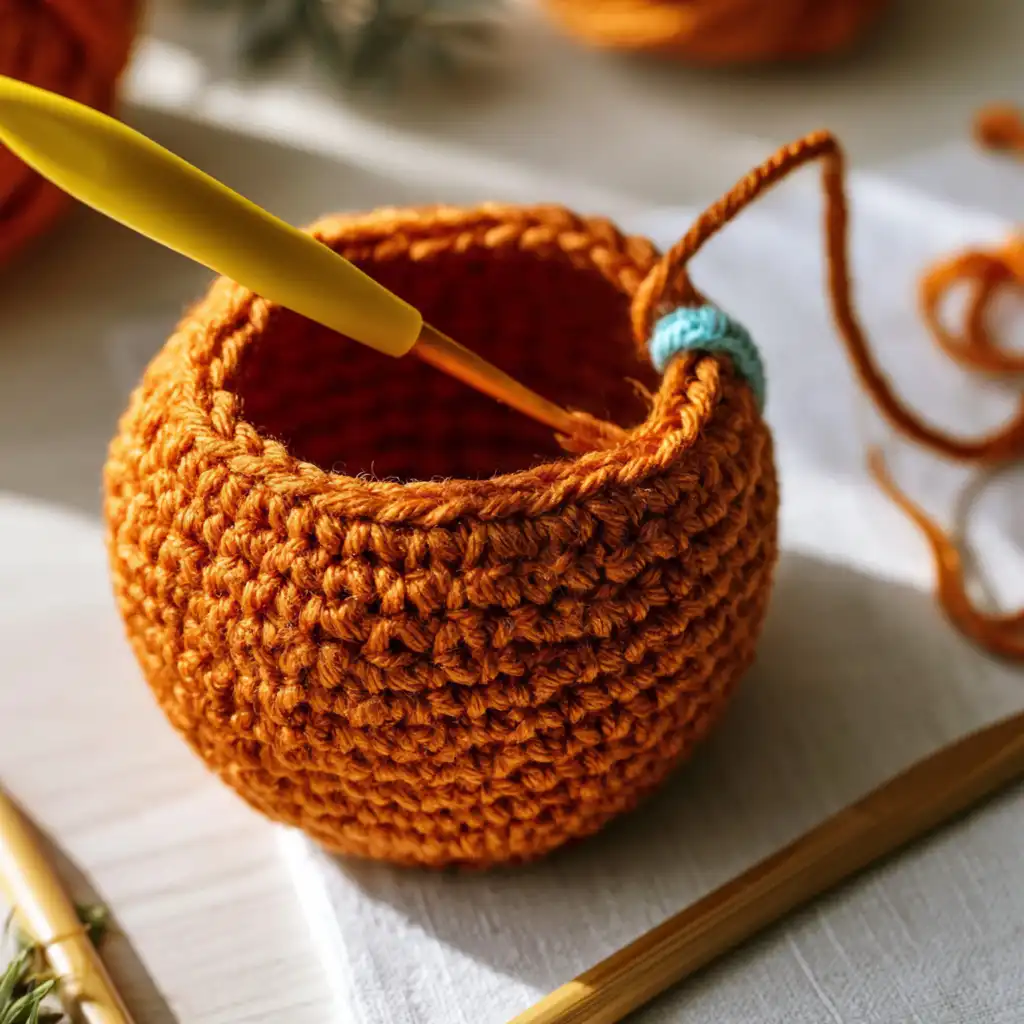
Rounds 9 to 20: Work 1 SC in each stitch around for 12 rounds to build the body height. (36 SC per round)
Phase 2: Decreasing the Body
Round 21: Repeat pattern: 4 SC, 1 decrease (DEC) around. (30 sts)
Round 22: Repeat pattern: 3 SC, 1 DEC around. (24 sts)
Round 23: Repeat pattern: 2 SC, 1 DEC around. (18 sts)
Stuffing: At this point, firmly stuff the persimmon body with fiberfill to shape.
Round 24: Repeat pattern: 1 SC, 1 DEC around. (12 sts)
Final Closing: Then, work only decrease stitches (DEC) in every stitch until the opening is fully closed. Fasten off and weave in ends securely.
Phase 3: Leaf and Stem (Brown Yarn)
Magic Ring Base: Using brown yarn, start with a magic ring. Work 12 double crochets (DC) into the ring. Tighten the ring.
Creating Leaves: For each leaf:
- Chain 2.
- Work 3 double crochets (DC) into the ring or space.
- Chain 2 again.
- Slip stitch (SLST) into the same space to complete the leaf shape.
Skip one stitch between leaves to shape the four leaves around the center. Repeat this process until you have 4 leaves arranged symmetrically.
Stem: Chain 4. Work slip stitches (SLST) backwards along the chain to form a sturdy stem. This creates a short and thick stem to be attached on top.
Finishing
Secure all yarn ends with tight knots to prevent unraveling.
Assembly
Use fabric glue to attach the leaf piece firmly to the top center of the persimmon body. Allow glue to dry completely before handling to ensure durability.
Olivia’s Tips
One of my favorite things about amigurumi is how quickly these little projects work up! For this persimmon, maintaining consistent tension is key to getting that perfectly round shape. If your stitches are too loose, your stuffing might show through, and if they’re too tight, it can be hard to work your hook. Don’t be afraid to adjust your hook size if needed! Also, when you’re stuffing, make sure to fill it firmly but gently, pushing the fiberfill evenly to avoid any lumpy spots. These little details really make a difference in the final look of your amigurumi. If you’re enjoying making small, cute items, you might also like to try this easy beginner bat amigurumi!
FAQ
- What skill level is required for this pattern? This pattern is considered intermediate, requiring basic knowledge of crocheting in the round, increases, decreases, and various stitches.
- What kind of yarn should I use? The pattern recommends using worsted or DK weight yarn for both the orange body and brown leaf/stem, allowing for good stitch definition and a soft finish.
- How big will my finished persimmon be? The finished amigurumi persimmon will be approximately 8 cm (3.1 inches) in diameter and 8–9 cm (3.1–3.5 inches) in height, including the stem.
- How do I ensure my persimmon keeps its shape? Firmly stuff the body with fiberfill, but avoid overstuffing, which can distort the shape. Consistent tension throughout the crocheting process also helps maintain the intended form.