
Hello, lovely crocheters! As the leaves start to turn and there’s a crispness in the air, my mind immediately goes to cozy autumn decorations. This year, I’m absolutely delighted to share a charming project that’s perfect for adding a touch of handmade warmth to your home: these delightful crochet pumpkin amigurumi!
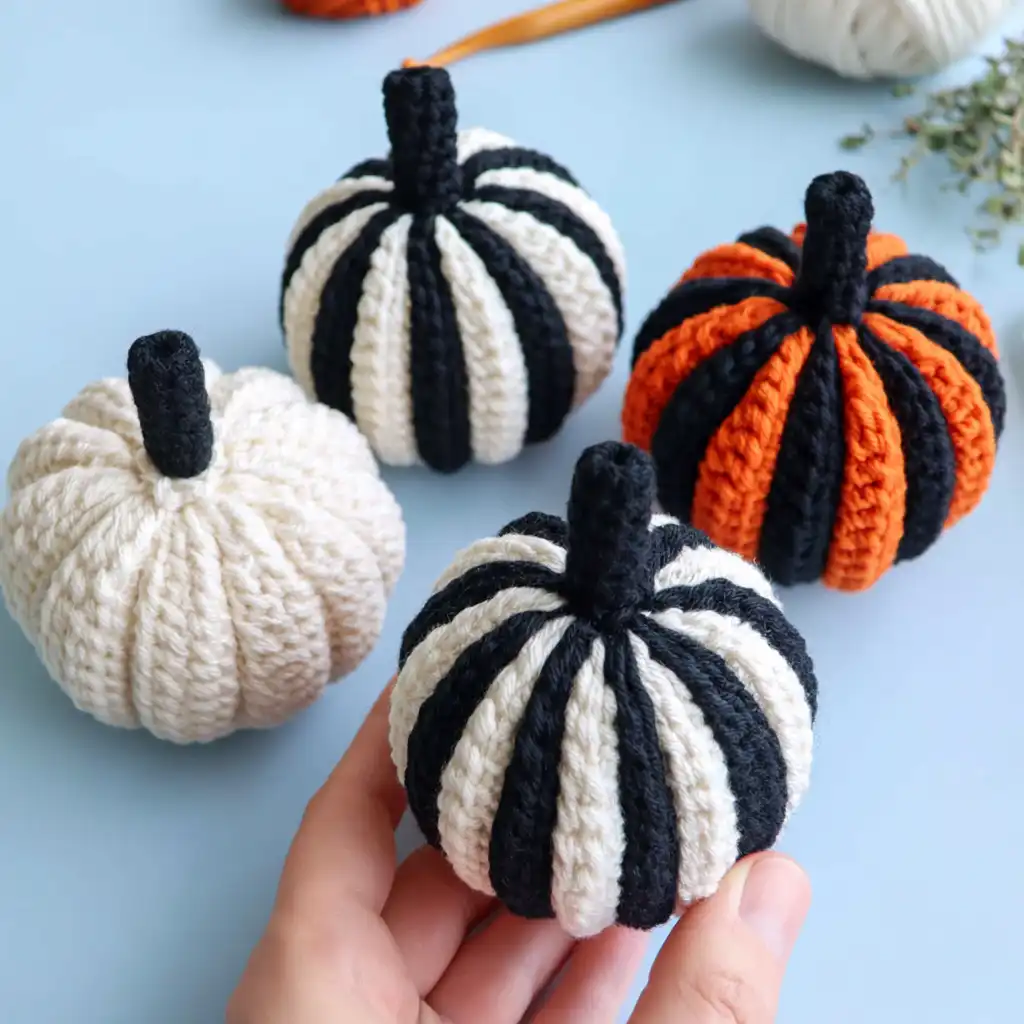
What I love most about this pattern is how incredibly beginner-friendly it is. Even if you’re new to amigurumi, the simple construction and clear instructions will have you creating a whole patch of pumpkins in no time. You can choose to make them with cute ribbing and color changes for a striped look, or keep them solid for a classic vibe. They’re quick to whip up, making them a fantastic weekend project or a thoughtful gift for friends and family.
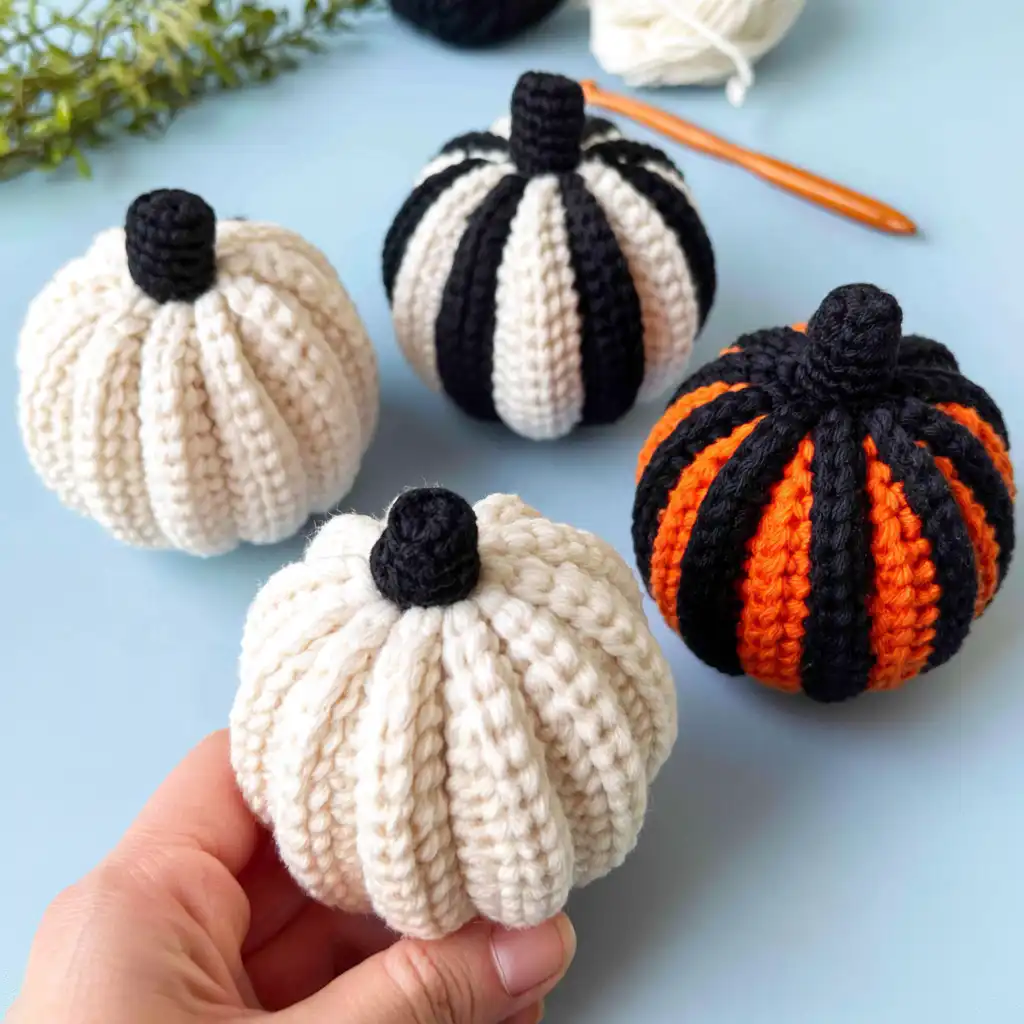
This pattern guides you through creating the pumpkin body and a small stem, which are then joined together. It’s worked in rows for the body, giving that lovely ribbed texture, and rounds for the stem. Get ready to add some handmade charm to your autumn decor!
Crochet Pumpkin Amigurumi Pattern
Materials
- Yarn Art Jeans, 55% cotton, 45% acrylic, 50g/160m (Colors: White No 01, Black No 53, Orange No 85)
- Crochet hook 2.25 mm (US: B, UK:14)
- Fiberfill
- Thick sewing needle
- Pins
Abbreviations
- ch – chain stitch
- SC – single crochet
- sl st – slip stitch
- inc – increase (2 sc in the next sc)
- dec – decrease (single crochet 2 stitches together)
- BLO – back loop only
Pattern Notes
- The number in parentheses at the end of a round indicates the total stitch count for that round.
- For the striped pumpkin, change yarn color every 2 rounds for the body.
- The Body is worked in turning rows.
- The Stem is worked in rounds.
Instructions
Body
With white yarn.
Chain 21. Start with the 2nd loop from the hook.
Rnd 2-36: BLO 20 sc.
Fold the hat so that its edges are placed against each other, forming a ring. Join the edges of the base with a round of 20 sl st, inserting the hook into the back loop of the last row and into the corresponding loop from the foundation chain at once.
Cut off the yarn and leave a long tail for sewing. Pull off the hole, add fiberfill into the detail and pull off the second hole.
Stem
With black yarn.
Rnd 1: 6 sc in the MR (magic ring). (6 sts)
Rnd 2: (inc, 1 sc)*3. (9 sts)
Rnd 3: 9 sc. (9 sts)
Rnd 4: (dec, 1 sc)*3. (6 sts)
Rnd 5-6: sc in each stitch around for 2 rounds. (6 sts)
Finishing
Don’t stuff the stem. Cut off the yarn, leaving a long tail.
Assembly
Sew the stem to the top of the pumpkin body using the long tail left from the stem. Weave in all remaining ends.
Olivia’s Tips
These little pumpkins are so much fun to make! For a truly professional finish, make sure to pull your slip stitches tight when joining the body to create a neat seam. Don’t be afraid to experiment with different autumn-inspired yarn colors beyond orange and white – deep reds, forest greens, or even muted yellows would look wonderful. If you’re looking for more adorable amigurumi projects, you might enjoy trying this easy beginner bat amigurumi or this charming crochet persimmon!
When stuffing your pumpkin, make sure to add enough fiberfill to give it a firm, plump shape without stretching the stitches too much. Use your thick sewing needle to securely attach the stem, making sure it sits upright. These little details really make your finished pumpkin shine!