
Hello, fellow makers! Today, I’m so excited to share a truly delightful project that I think you’re going to love – the Easy Breezy Knit Poncho. This pattern is a fantastic choice whether you’re new to knitting or looking for a relaxing, “mindless” project that still yields a stunning result. What I particularly love about this poncho is its versatility; it’s perfect for layering on a cooler evening, as a stylish accessory for a casual outing, or even as a chic swimsuit cover-up when made with plant-based fibers.
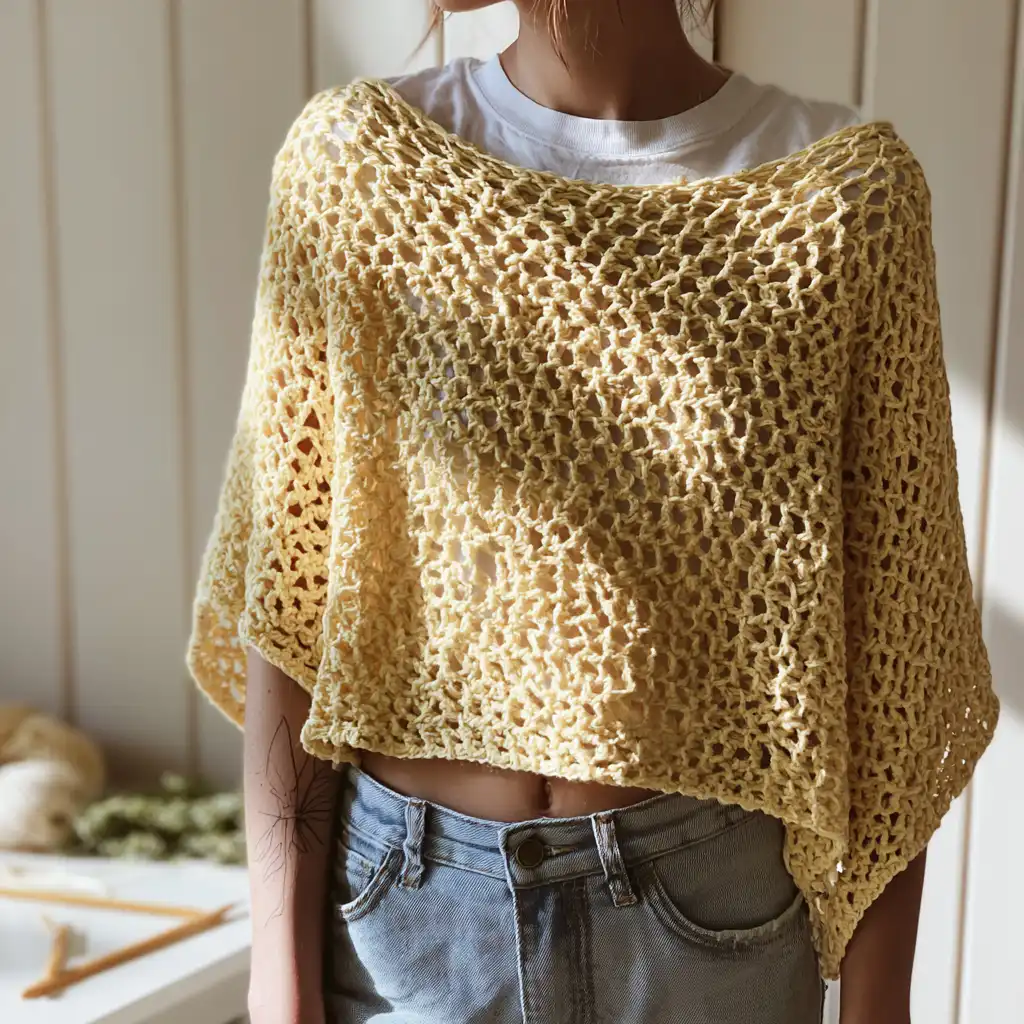
This pattern offers two distinct versions, both using the same beautiful and easy-to-memorize lace stitch, but with slightly different constructions to give you varied looks. Both are designed to be oversized and comfortable, making them a joy to wear. You’ll be working with simple knit and purl stitches combined with a lovely lace repeat that quickly becomes second nature. It’s a wonderful way to practice your knitting skills and create something truly special for yourself or as a thoughtful gift!
Easy Breezy Knit Poncho Pattern
Materials
- Needles: US 10.5 (6.5 mm) knitting needles
- Yarn: DK weight yarn (see Yarn Information for details and suggestions)
- Other: Tapestry needle for weaving in ends
Finished Size
The poncho is designed with positive ease, offering an oversized, boxy fit. Choose your size based on your bust measurement:
| Size | Bust Measurement |
|---|---|
| 1/2 | 76–88 cm / 30–35 inches |
| 3/4 | 90–105 cm / 36–41 inches |
| 5/6 | 106–120 cm / 42–47 inches |
| 7/8 | 121–135 cm / 48–53 inches |
| 9/10 | 136–150 cm / 54–60 inches |
Yarn Information
This pattern uses DK weight yarn. Plant-based fibers are recommended, especially for warmer weather or use as a swimsuit cover-up.
- Poncho Version 1 Sample Yarn: Sandnes Garn Tynn Line (50g / 240 yards / 220 meters per ball), held double to create a DK weight.
- Size 1/2: 5 balls used.
- Poncho Version 2 Sample Yarn: Knitting For Olive Pure Silk (50g / 273 yards / 250 meters per ball), held double to create a DK weight.
- Size 1/2: 3.5 balls used.
- Other Yarn Suggestions: Rauma Petunia, Sandnes Garn Line, Rowan Summerlite DK, Berroco Pima Soft, Berroco Lumi.
Hook and Tools
- US 10.5 (6.5 mm) knitting needles (cord length will vary by version; see instructions)
- Tapestry needle
Abbreviations
- K — Knit
- P — Purl
- YO — Yarn Over
- K2Tog — Knit 2 Together
- st(s) — stitch(es)
Pattern Notes
- This pattern includes two poncho versions, both utilizing the same lace stitch pattern.
- The main difference between versions is the construction method.
- Version 1: Two separate rectangular panels are knitted and then seamed together. This version offers approximately 90–100 cm / 35–40 inches of positive ease.
- Version 2: One long rectangular panel is knitted, folded in half, and then seamed. This version offers approximately 30–40 cm / 12–16 inches of positive ease.
- Row gauge is not essential for this pattern.
- Blocking is crucial for the lace pattern to open up and for accurate gauge measurement.
Gauge
12 stitches = 10 cm / 4 inches on US 10.5 (6.5 mm) needles in the lace pattern after blocking.
Be sure to knit a gauge swatch using the lace pattern and measure it after blocking, as the lace pattern tends to grow.
Lace Pattern
The lace pattern is worked over a multiple of 2 stitches.
- Row 1 (Right Side): K1, YO, K2Tog, K1
- Row 2 (Wrong Side): Purl all
- Row 3 (Right Side): K1, K2Tog, YO, K1
- Row 4 (Wrong Side): Purl all
Repeat Rows 1–4 for the lace pattern.
Instructions
Poncho Version 1
This version is more oversized, with approximately 90–100 cm / 35–40 inches of positive ease. It is created by knitting two panels flat and then seaming them together.
To Begin:
- Cast on 108 (118) 128 (136) 144 stitches using US 10.5 (6.5 mm) needles with a 55 cm cord and your preferred cast-on method.
- Knit 1 row.
- Purl 1 row.
Lace Pattern:
- Begin working the Lace Pattern (Rows 1–4) until your work measures: 48 (50) 54 (58) 60 cm, or until you reach your preferred length.
- Finish after Row 2 or Row 4 of the repeat so that you cast off on a right-side row.
- Cast off using Jenny’s Surprisingly Stretchy Bind Off, or your preferred stretchy bind-off method.
Your first panel is complete. Knit the second panel the same way.
Poncho Version 2
This version has slightly less positive ease (approximately 30–40 cm / 12–16 inches) but remains oversized. It is knitted flat as one long rectangular panel that is then folded and seamed.
To Begin:
- Cast on 54 (58) 60 (62) 66 stitches using US 10.5 (6.5 mm) needles with a 35 cm cord and your preferred cast-on method.
- Knit 1 row.
- Purl 1 row.
Lace Pattern:
- Begin working the Lace Pattern (Rows 1–4) until your work measures: 110–120 (125–135) 145–155 (160–170) 180–190 cm.
- Finish after Row 2 or Row 4 of the repeat so that you cast off on a right-side row.
- Cast off using Jenny’s Surprisingly Stretchy Bind Off, or your preferred stretchy bind-off method.
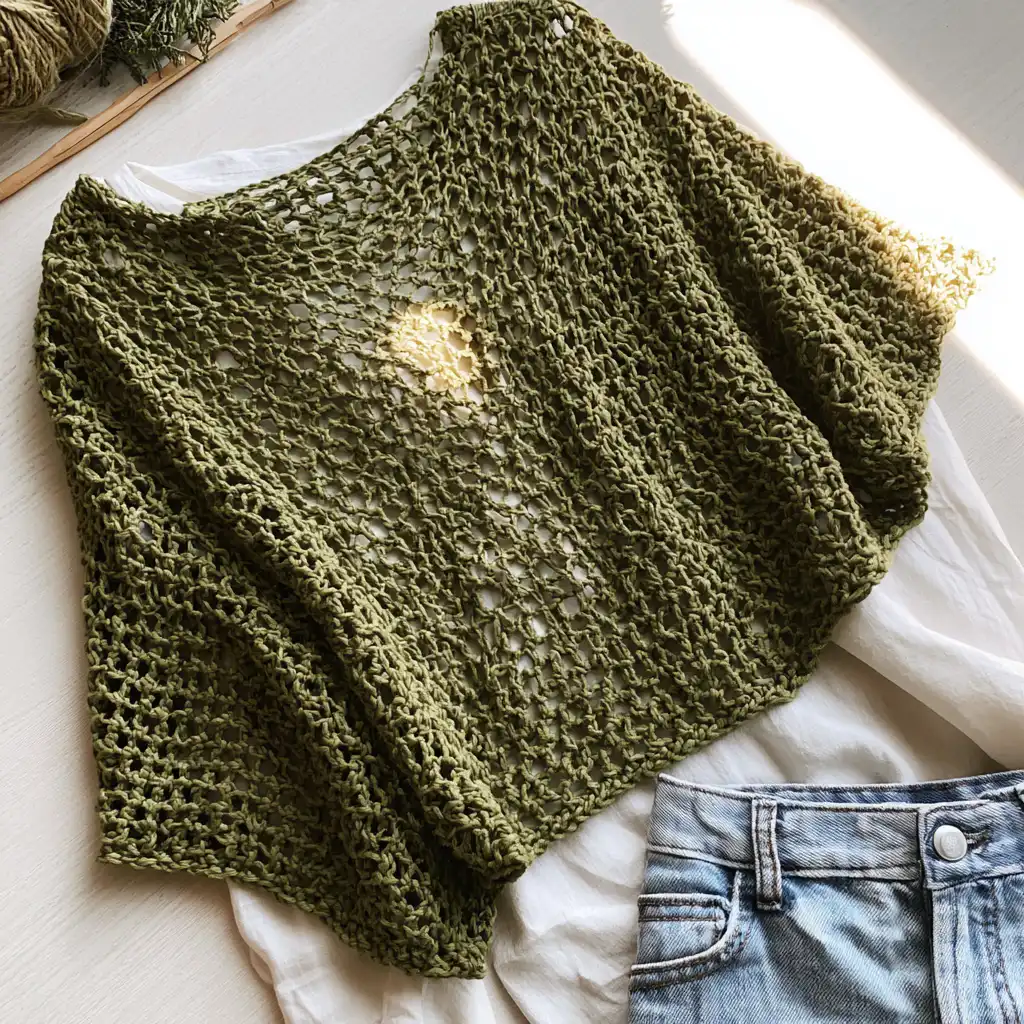
Finishing
Once both panels (Version 1) or the single panel (Version 2) have been blocked and dried, proceed with assembly.
Weave in any remaining yarn ends securely.
Ensure the poncho is fully blocked and dried before wearing. Blocking helps to open up the lace pattern beautifully and gives the garment its final shape and drape.
Assembly
For Poncho Version 1
- Seam the two panels together using whip stitch.
- Seam along what will become the shoulders, leaving an opening in the middle for the head and neckline.
- For a wide neckline, a 32 cm opening measured flat was used in the sample. You can make the neckline wider or narrower according to your preference.
For Poncho Version 2
- After blocking the panel, fold it in half.
- Seam along the top, leaving an opening for the head and neckline.
- For an off-the-shoulder style, a 37 cm neckline opening measured flat was used in the sample. You can adjust the neckline opening to make it wider or narrower according to your preference.
Olivia’s Tips
Creating a beautiful knit poncho like this is such a rewarding experience! Here are a few tips I’ve picked up that might help you along the way. First, don’t skip the gauge swatch, especially with lace patterns. Lace tends to “grow” after blocking, so checking your gauge beforehand will ensure your poncho turns out the size you expect. I always recommend using a good quality stitch marker to keep track of your right and wrong sides, especially when you’re repeating rows. If you’re new to knitting, take your time with the K2Tog and YO stitches; they are the heart of this lace pattern and become very intuitive with practice. Finally, proper blocking really makes this poncho shine, so give it the love it deserves at the end. It will transform your stitches and drape beautifully!