
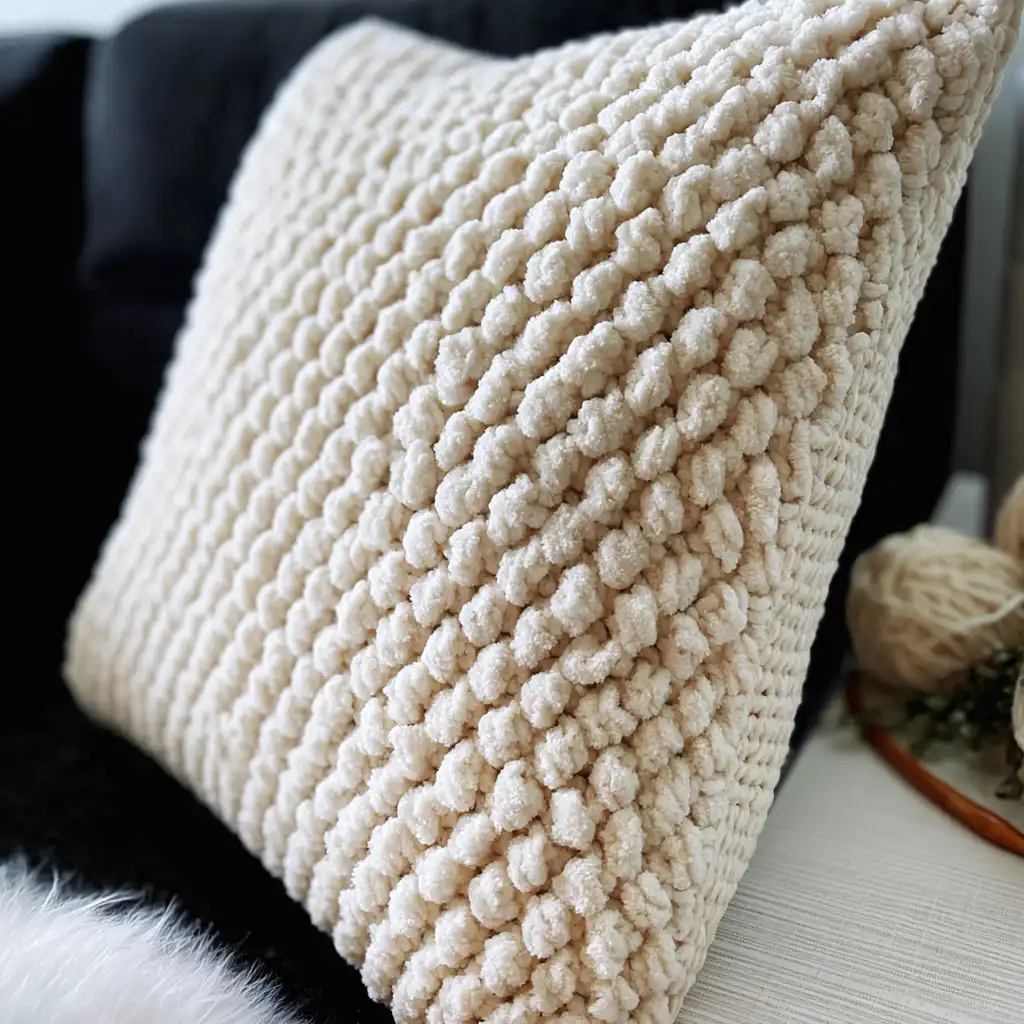
Materials
- 1 Bernat Blanket #6 Super Bulky 220yds
- Poly-fil for stuffing
- US size L 8.0 mm crochet hook
- Stitch markers (optional)
- Scissors
- Tapestry needle
Finished Size
Approximately 18 × 18 inches
Yarn Information
For this project, I used Bernat Blanket #6 Super Bulky yarn, 220 yards. No substitutions were suggested in the original pattern, but you can always experiment with similar super bulky yarns if you’re comfortable with adjusting your gauge.
Hook and Tools
- US size L 8.0 mm crochet hook
- Stitch markers (optional)
- Scissors
- Tapestry needle
Abbreviations (US)
- ch — chain
- st(s) — stitch(es)
- sc — single crochet
- sc blo — single crochet back loop only
- sc flo — single crochet front loop only
- sl st — slip stitch
Pattern Notes
- The chain 1 does not count as a stitch.
- If you have trouble identifying the first or last stitch of the row, use stitch markers to help you keep track.
Gauge
Approximately 8 sts and 7 rows = 4 × 4 inches
Instructions
You will need to make 2 of these panels.
To begin: ch 37
Row 1: Place 1 sc in the 2nd ch from the hook and in each ch across. Ch 1 and turn. (36 sts)
Row 2: Place 1 sc blo in the 1st st and in each st across. Ch 1 and turn. (36 sts)
Row 3: Place 1 sc flo in the 1st st and in each st across. Ch 1 and turn. (36 sts)
Repeat Rows 2-3 in that order until you have a total of 28 rows. (36 sts)
Row 29: Place 1 sc in the 1st st and in each st across. Fasten off and weave in ends. (36 sts)
Size Adjustment
To adjust the width of your pillow, start with a longer or shorter chain, using any number of chains. Follow the crochet pattern as written until your pillow is the length you want.
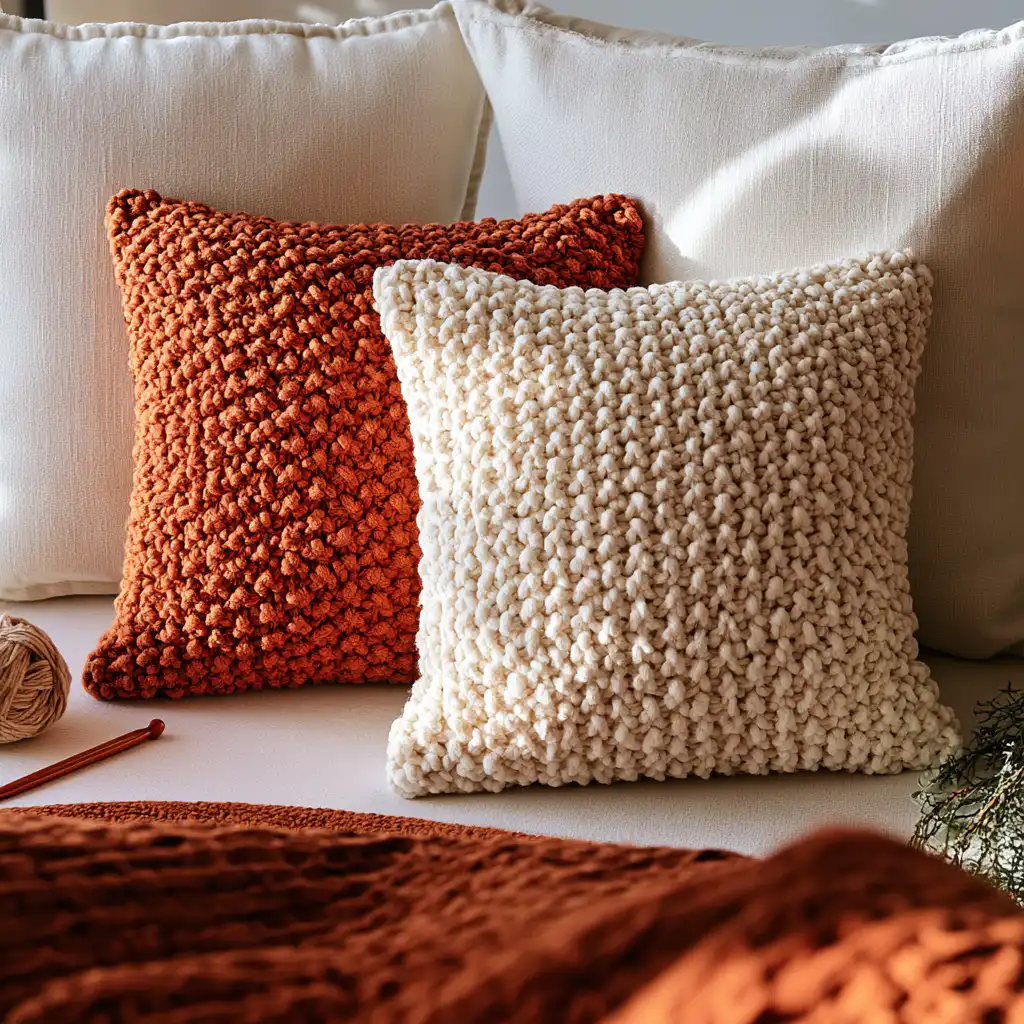
Finishing and Assembly
Once you have both panels crocheted, it’s time to assemble your pillow!
- Place your two pillow panels on top of each other.
- Attach your yarn to the top left corner of both panels, ch 1 and sc around the pillow. Whenever you reach a corner, place 3 sts in the corner.
- Once you reach the top right corner of your pillow, stuff your pillow with Poly-fil, then continue to sc the pillow closed (stuffing as needed).
- When you reach the corner where you started, place 3 sts in the starting corner, sl st to the next st, fasten off and weave in the ends.
A Few Tips From Olivia
Working on this pillow is such a joy! Here are a few tips to help you along the way:
- Consistent Tension: Maintaining an even tension is key, especially with single crochet stitches, to get that beautiful, uniform “sweater” texture. If your stitches feel too tight or too loose, try adjusting how you hold your yarn or even going up or down a hook size.
- Stitch Markers are Your Friend: Even for seasoned crocheters, it’s easy to lose count or miss a stitch, especially when working in the back or front loops. Don’t hesitate to use stitch markers at the beginning and end of your rows to keep everything accurate.
- Stuffing Smart: When it comes to stuffing, don’t be shy! A well-stuffed pillow looks much better and holds its shape longer. Stuff a little, then gently pat and knead the pillow to distribute the Poly-fil evenly, adding more as needed until it’s as plush as you like.
- Weave in Ends Neatly: Take your time weaving in your ends. A neat finish makes all the difference in the professional look of your handmade item. Use your tapestry needle to work the yarn tail through several stitches in different directions.
Frequently Asked Questions
What kind of yarn is best for this pillow?
This pattern uses Bernat Blanket #6 Super Bulky yarn, which is a thick yarn that creates a soft and plush texture, perfect for a cozy pillow. Using a yarn of similar weight will help you achieve the intended look and feel.
Can I make this pillow in a different size?
Yes, you can adjust the width of your pillow by starting with a longer or shorter chain, using any number of chains. Then, you’ll follow the pattern as written until your panels reach your desired length before joining.
What does “sc blo” and “sc flo” mean?
“sc blo” stands for single crochet back loop only, meaning you insert your hook into only the back loop of the stitch. “sc flo” means single crochet front loop only, where you insert your hook into only the front loop. These techniques create the lovely ribbed texture of the pillow.