
Hello, fellow crocheters! As the leaves turn and there’s a crispness in the air, my thoughts always drift to cozy projects and all things fall. This year, I’m absolutely delighted to share a pattern that perfectly captures the spirit of the season: the Crochet Pumpkin Beanie!
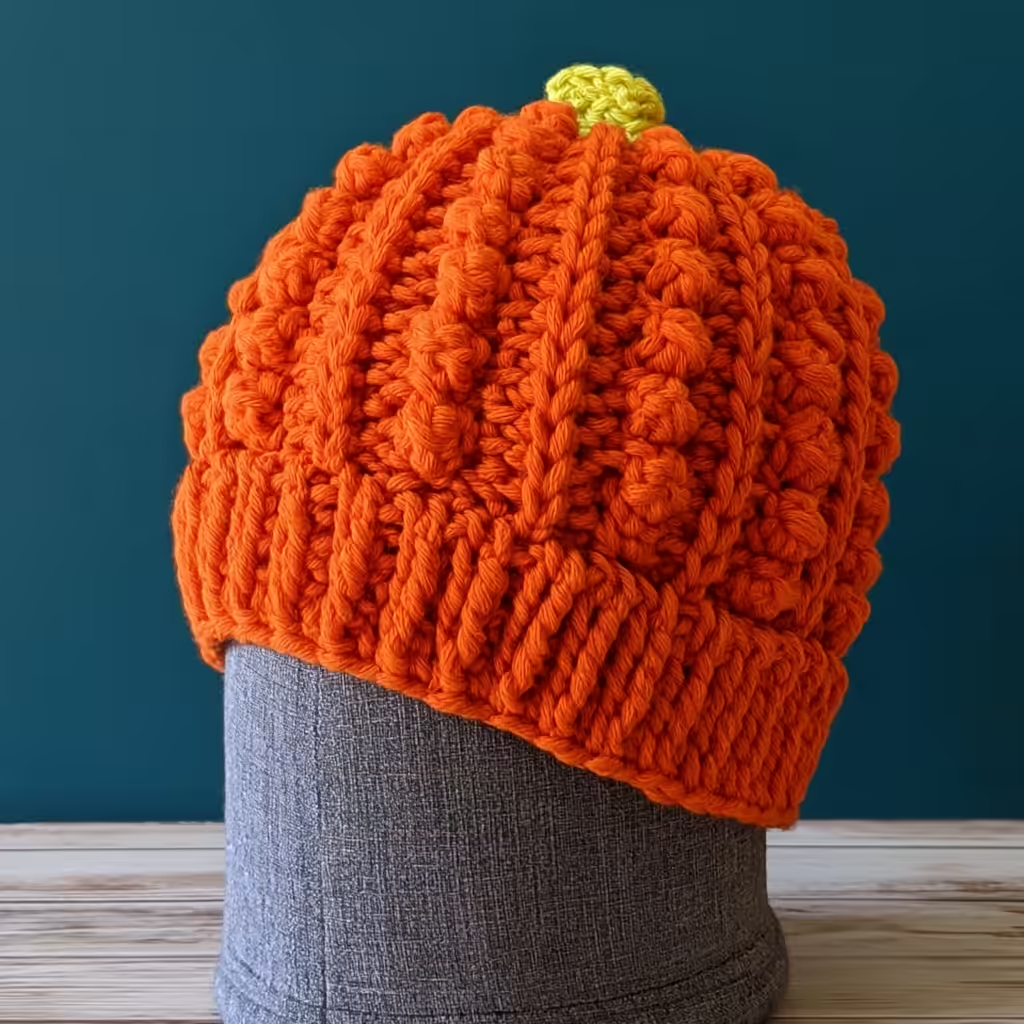
There’s something so charming about a pumpkin-themed item, and this beanie is no exception. It’s a wonderful way to embrace the autumn festivities, whether you’re heading to a pumpkin patch, celebrating Halloween, or gathering for Thanksgiving. What I truly love about this pattern is its versatility and how beginner-friendly it is. It’s worked from the bottom up, starting with a simple hat band and finishing with a cute little stem at the crown. Plus, it comes in an amazing 10 sizes, from newborn all the way up to adult large, making it perfect for creating matching sets for the entire family!
You can easily customize your beanie by choosing different shades of orange or even white for the pumpkin, and varying browns or greens for the stem. It’s a quick and satisfying project that’s perfect for gifting or simply adding a touch of autumnal cheer to your own wardrobe. Let’s get started on making these adorable pumpkin beanies!
Pumpkin Beanie Crochet Pattern
Materials
- Big Twist Value yarn (100% acrylic, 6 oz/170 g/380 yd/347 m) – 1 skein each in Orange (CA) and Slime (CB)
- US Size H-8/5 mm crochet hook, or any size needed to obtain correct gauge
- US Size I-9/5.5 mm crochet hook, or any size needed to obtain correct gauge
- Locking stitch marker
- Yarn needle
Finished Size
- Newborn: 12” (30.5 cm) hat circumference x 5” (13 cm) height
- 0-3 Months: 14” (35.5 cm) hat circumference x 5.25” (13.5 cm) height
- 3-6 Months: 15” (38 cm) hat circumference x 5.5” (14 cm) height
- 6-12 Months: 16” (40.5 cm) hat circumference x 6” (15 cm) height
- Toddler: 17” (43 cm) hat circumference x 6.25” (16 cm) height
- Child Small: 18” (45.5 cm) hat circumference x 6.75” (17 cm) height
- Child Large: 19” (48.5 cm) hat circumference x 7.25” (18.5 cm) height
- Teen/Adult Small: 20” (51 cm) hat circumference x 7.5” (19 cm) height
- Adult Medium: 21” (53.5 cm) hat circumference x 8” (20.5 cm) height
- Adult Large: 22” (56 cm) hat circumference x 8.25” (21 cm) height
Yarn Information
Big Twist Value yarn (100% acrylic, 6 oz/170 g/380 yd/347 m)
- Orange (CA): Approximately 85 yd (Newborn), 100 yd (0-3 Months), 115 yd (3-6 Months), 135 yd (6-12 Months), 145 yd (Toddler), 165 yd (Child Small), 190 yd (Child Large), 205 yd (Teen/Adult Small), 230 yd (Adult Medium), 250 yd (Adult Large)
- Slime (CB): Approximately 10 yd (9 m) for all sizes
Hook and Tools
- US Size H-8/5 mm crochet hook (smaller hook)
- US Size I-9/5.5 mm crochet hook (larger hook)
- Locking stitch marker
- Yarn needle
Abbreviations
- BL – back loop only
- CA – Color A
- CB – Color B
- ch – chain
- dc – double crochet
- invdec – invisible decrease
- RS – right (front) side
- sc – single crochet
- sl st – slip stitch
- st(s) – stitch(es)
- WS – wrong side
- yo – yarn over
- [] Repeat instructions between brackets as indicated.
Pattern Notes
- Ch 1 at start and sl st at end of Rows and Rounds DO NOT count as stitches.
- The hat is worked from the bottom up, starting with the hat band.
Gauge
- 10 scBL = 2.5” (6.5 cm) across with smaller hook. Exact gauge is not critical for Hat Band.
- 14 sts = 4” (10 cm) in pattern for Work Even with larger hook. For best results, always check your gauge.
Special Stitches
Invisible Decrease (invdec): Insert hook in front loop only of each of next 2 sts, yo and draw up a loop, yo and draw through 2 loops.
Instructions
Hat Band (All Sizes)
To Begin: With CA and smaller hook, ch 7 (7, 7, 7, 7, 9, 9, 11, 11, 11).
Row 1: Turn, skip 1 ch, sc in next ch and each ch across. (6, 6, 6, 6, 6, 8, 8, 10, 10, 10 sts)
Row 2: Turn, ch 1, scBL in first st and each st across. (6, 6, 6, 6, 6, 8, 8, 10, 10, 10 sts)
Repeat Row 2 until Hat Band measures approximately 12” (14”, 15”, 16”, 17”, 18”, 19”, 20”, 21”, 22”)/30.5 cm (35.5 cm, 38 cm, 40.5 cm, 43 cm, 45.5 cm, 48.5 cm, 51 cm, 53.5 cm, 56 cm) long. Do not fasten off.
Fold Hat Band over lengthwise so that short edges are together, being careful not to twist. Join with slip stitch seam across short edge. Do not fasten off.
Work Even (All Sizes)
Set Up Round: (RS) With CA and smaller hook, ch 1, evenly work 44 (48, 56, 56, 60, 64, 68, 72, 76, 80) sc along the long edge. Join with sl st to first sc. (44, 48, 56, 56, 60, 64, 68, 72, 76, 80 sts)
Round 1: (RS) Change to larger hook, ch 1, starting in first st [dc in next 2 sts, sc in next 2 sts] around, join with sl st to first dc. (44, 48, 56, 56, 60, 64, 68, 72, 76, 80 sts)
Round 2: Turn to WS, ch 1, [sc in next 2 sc, dc in next 2 dc] around, join with sl st to first sc. (44, 48, 56, 56, 60, 64, 68, 72, 76, 80 sts)
Round 3: Turn to RS, ch 1, [dc in next 2 dc, sc in next 2 sc] around, join with sl st to first dc. (44, 48, 56, 56, 60, 64, 68, 72, 76, 80 sts)
Repeat Rounds 2-3 until hat measures approximately 5” (5.25”, 5.5”, 6”, 6.25”, 6.75”, 7.25”, 7.5”, 8”, 8.25”)/13 cm (13.5 cm, 14 cm, 15 cm, 16 cm, 17 cm, 18.5 cm, 19 cm, 20.5 cm, 21 cm) height, ending after either Round.
Fasten off CA with long yarn tail (approximately 18”/45.5 cm long). Thread yarn needle with long yarn tail and cinch final round closed by weaving yarn needle through each stitch on bottom edge. Slowly tighten yarn tail to pull top closed until approximately 1” (2.5 cm) diameter is still open. DO NOT seam the top closed.
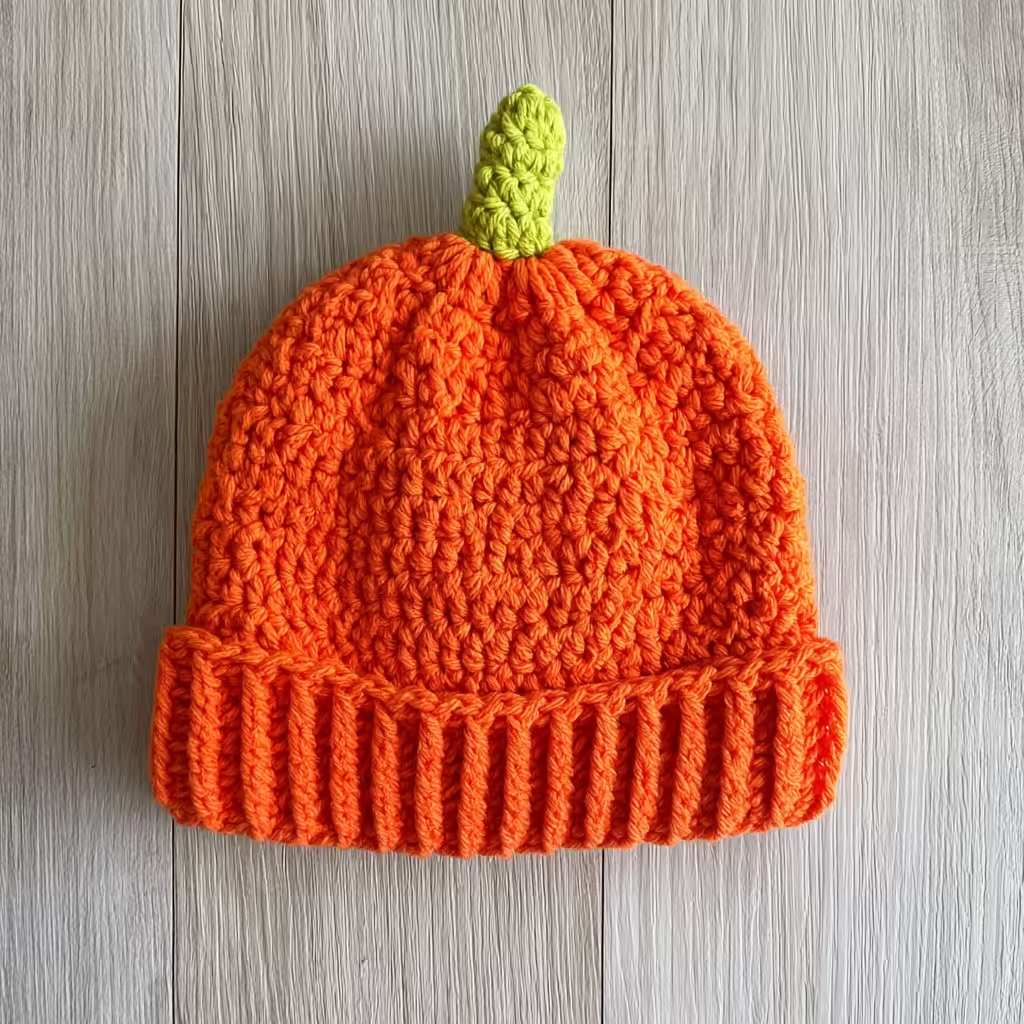
Stem (All Sizes)
Round 1: Join CB to any st on top opening of hat with RS facing, ch 1, evenly work 12 sc along the opening at top of hat, place stitch marker in last st to mark position. Move up stitch marker each round. (12 sts)
Round 2: Sc in each st around. (12 sts)
Round 3: [Invdec, sc in next st] around. (8 sts)
Rounds 4-6: Repeat Round 2, 3 times. (8 sts)
Round 7: Invdec around. (4 sts)
Fasten off CB with long yarn tail (approximately 12”/30.5 cm long).
Finishing
Thread yarn needle with CB, seam top of Stem with whipstitch seam.
With yarn needle, weave in all remaining ends on the inside of the hat.
Olivia’s Tips
To ensure your hat band has a neat and even edge, practice your single crochet in the back loop only. This creates that lovely ribbed texture. For the main body of the hat, paying attention to your turning chains and making sure to turn your work at the end of each round (as specified in the pattern) will help maintain the stitch pattern and keep your seams straight. Don’t be afraid to use a stitch marker at the beginning or end of your rounds, especially when working in the round for the stem, to help you keep count and avoid mistakes. If you’re looking for other easy hat patterns, you might enjoy this easy crochet beanie hat pattern or the crochet ribbed beanie pattern. Happy crocheting!
FAQ
Q: Can I use different yarn weights for this pattern?
A: This pattern is designed for medium weight yarn. While you could try other weights, it would likely alter the finished size and drape of the beanie, and you would need to adjust your hook size and gauge accordingly.
Q: How do I choose the right size for my beanie?
A: Measure the head circumference of the person you are making the beanie for. Then, choose the finished size from the pattern that is closest to their head circumference for a comfortable fit.
Q: What if my hat band is too tight or too loose?
A: The hat band gauge is not critical, but if it feels significantly off, you can adjust the length by repeating Row 2 more or fewer times until it reaches the desired circumference.
Q: What is the purpose of the invisible decrease (invdec) stitch?
A: The invisible decrease creates a neater and less noticeable decrease in single crochet stitches, which is ideal for amigurumi or shaping items like the stem of this beanie.