
Hello, fellow makers! As the days get shorter and the air gets crisp, my thoughts always turn to creating cozy, festive decorations. This year, I’m so excited to share a perfectly charming project that will fill your home with handmade cheer: a mini crochet Christmas tree! These little beauties are quick to whip up and bring such a delightful, rustic touch to any holiday display.
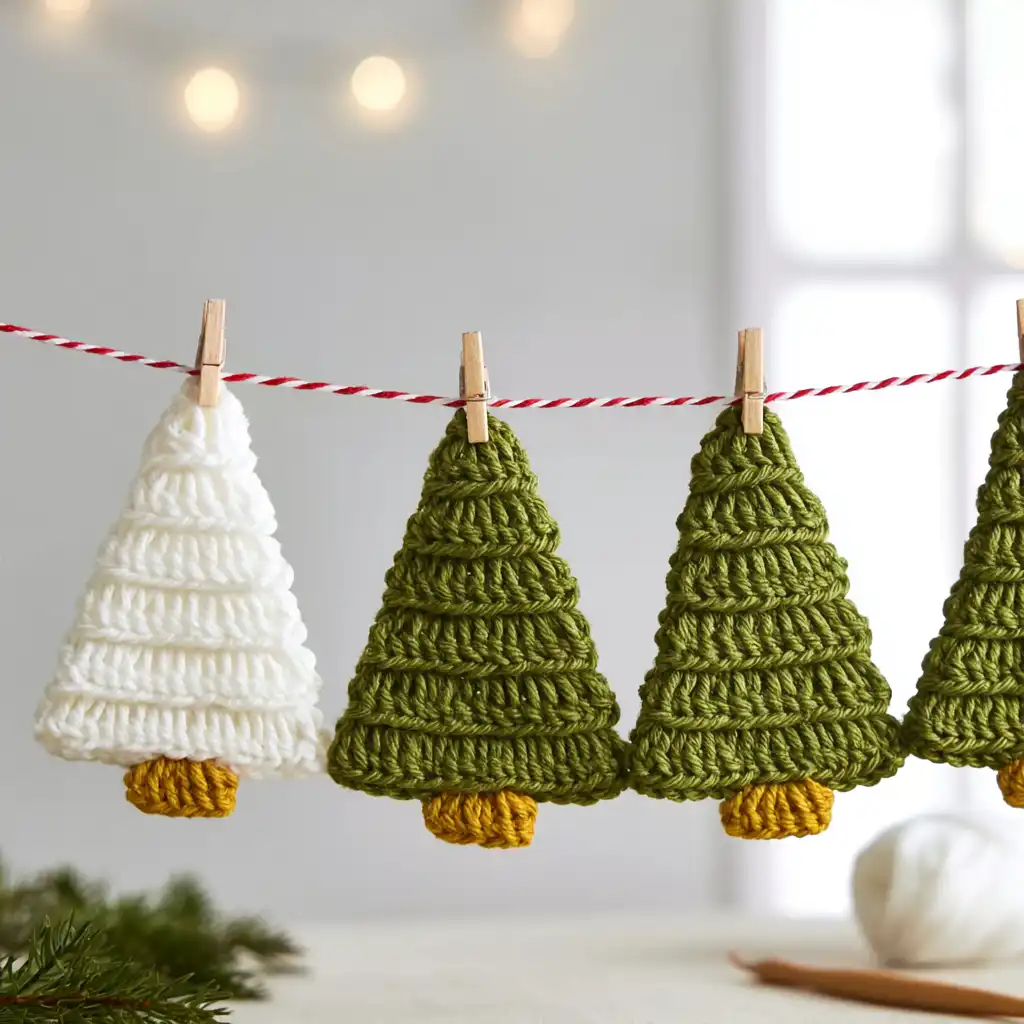
I just adore how versatile these trees are. Imagine a string of them as a cheerful garland draped across your mantle, or nestled among the lights on your main Christmas tree as unique ornaments. They also make the sweetest little embellishments for gift wrapping – a handmade touch that truly shows you care. What I love most about this pattern is how it uses just a smidgen of yarn, making it absolutely perfect for busting through those leftover bits and bobs from other projects. Plus, it’s designed with beginners in mind, using only fundamental crochet stitches!
You’ll be working this tree flat in rows to create its classic triangular shape, then adding a small trunk at the base. It’s a wonderfully satisfying project that comes together quickly, leaving you with plenty of time to make a whole forest of them!
Mini Crochet Christmas Tree Pattern
Materials
- Yarn, light worsted or DK weight in Green and Brown (the source used 4 Seasons, Marvel, 8 ply)
- Small button (approximately 10 mm) or any decorative item for the treetop
- Tapestry Needle
- Scissors
Finished Size
Crochet Christmas Tree: 3 inches Wide x 4 inches High
Yarn Information
The pattern uses light worsted or DK weight yarn. You can use any yarn weight you prefer, but be sure to adjust your hook size accordingly. Using different yarn weights will result in different sized Christmas trees.
Hook and Tools
- Crochet hook, E (3.5 mm)
- Tapestry Needle
- Scissors
Abbreviations
(In US Crochet Terms)
- ch — chain
- BLO — Back Loop Only
- hdc — half double crochet
- MR — magic ring
- sc — single crochet
- sl st — slip stitch
- st(s) — stitch(es)
- fo — fasten off
Pattern Notes
- The tree body is worked in rows, turning at the end of each row.
- From Row 2 onwards for the tree body, all single crochet stitches are worked in the back loop only (BLO).
- Increases for the tree shape are made by working 3 single crochet stitches into a single stitch in the middle of the row.
Instructions
Crochet Tree Body (with green yarn)
With green yarn, begin by making an MR.
Row 1: sc 3 in MR, turn. (3 sts)
Crochet the following with sc in BLO:
Row 2: ch 1, sc in next st, 3sc in next st, sc in next st, turn. (5 sts)
Row 3: ch 1, sc in next 5 sts, turn. (5 sts)
Row 4: ch 1, sc in next 2 sts, 3sc in next st, sc in next 2 sts, turn. (7 sts)
Row 5: ch 1, sc in next 7 sts, turn. (7 sts)
Row 6: ch 1, sc in next 3 sts, 3sc in next st, sc in next 3 sts, turn. (9 sts)
Row 7: ch 1, sc in next 9 sts, turn. (9 sts)
Row 8: ch 1, sc in next 4 sts, 3sc in next st, sc in next 4 sts, turn. (11 sts)
Row 9: ch 1, sc in next 11 sts, turn. (11 sts)
Row 10: ch 1, sc in next 5 sts, 3sc in next st, sc in next 5 sts, turn. (13 sts)
Row 11: ch 1, sc in next 13 sts, turn. (13 sts)
Row 12: ch 1, sc in next 6 sts, 3sc in next st, sc in next 6 sts, turn. (15 sts)
Row 13: ch 1, sc in next 15 sts, turn. (15 sts)
Row 14: ch 1, sc in next 7 sts, 3sc in next st, sc in next 7 sts, turn. (17 sts)
Row 15: ch 1, sc in next 17 sts, turn. (17 sts)
fo.
Crochet Tree Trunk (with brown yarn)
With brown yarn, attach yarn to the middle 3 stitches of the tree base.
Row 1: ch 1, sc in next 3 sts, turn. (3 sts)
Row 2: ch 1, long hdc in the same st as row 1, long hdc in next st, long hdc in next st, ch 2, sl st into the last hdc stitch. (3 long hdc)
fo.
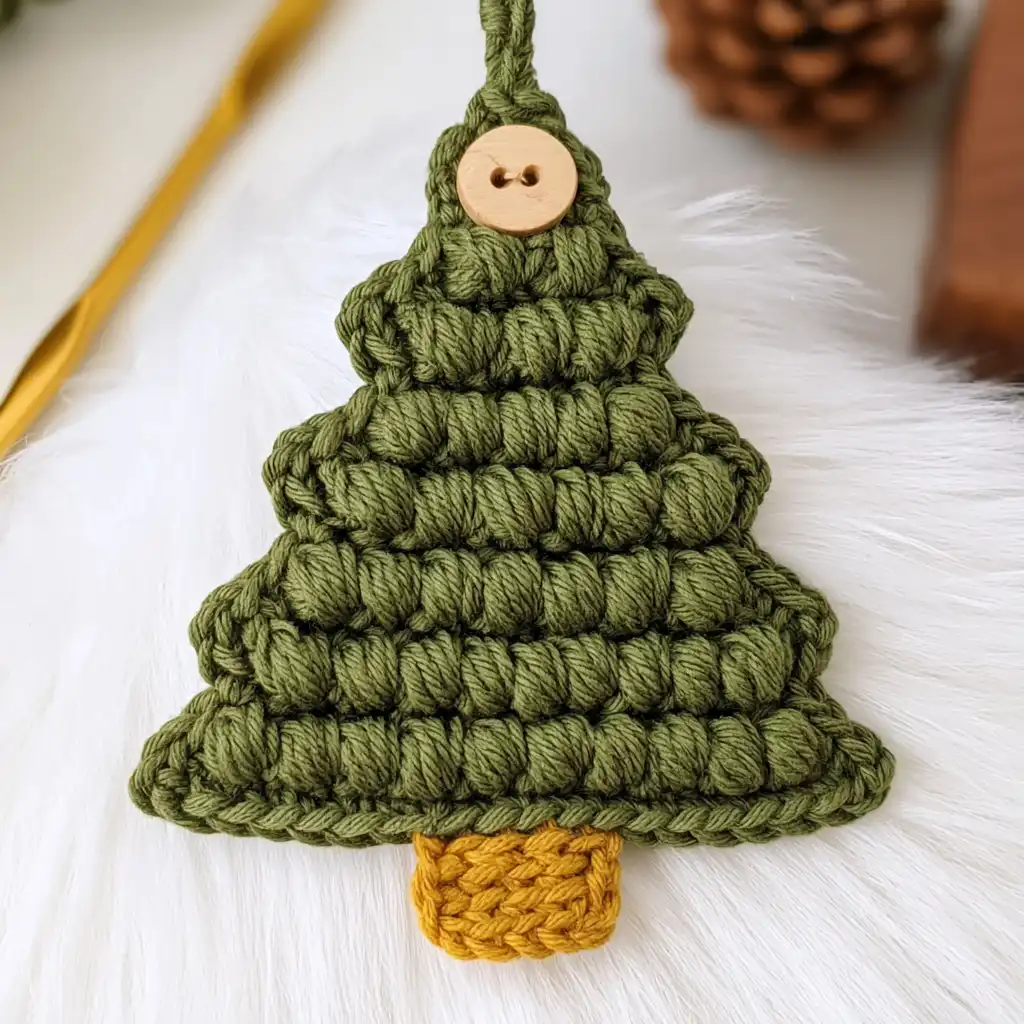
Finishing
Sew the small decorative button onto the very top point of your crochet Christmas tree.
Assembly
Hide all yarn ends using your tapestry needle to neaten up your crochet Christmas tree. If you’re making a garland, string your finished trees together!
A Few Tips From Olivia
I find these little trees so satisfying to make! Here are a few thoughts to help you along:
- Yarn Scraps: This is truly the perfect project for using up those smaller balls of yarn. Don’t be afraid to experiment with different shades of green, or even try some fun variegated yarns for a unique look!
- Consistent Tension: While these are small, keeping your tension even will help your tree maintain a nice, symmetrical shape. If you notice your edges getting wavy, try adjusting how tightly you pull your yarn.
- Back Loop Only (BLO): Remember that working in the back loop only creates a lovely ribbed texture. Make sure you’re consistently inserting your hook into just the back loop from Row 2 onwards for the main tree body.
- Decorations: Don’t limit yourself to just a button! Small beads, tiny bows, or even a little embroidered star could make a wonderful treetop decoration. You could even add a few French knot “ornaments” to the tree itself.
- Blocking: For a really crisp, flat tree, consider a light blocking. A quick spritz with water and pinning it flat to dry can make all the difference, especially if your yarn tends to curl.
FAQ
Q: What kind of yarn should I use for this project?
A: The pattern suggests light worsted or DK weight yarn. However, you can use any yarn weight you prefer. Just remember to adjust your crochet hook size to match your chosen yarn weight for the best results.
Q: Can I make the Christmas tree bigger or smaller?
A: The pattern is written for a specific size (3″ W x 4″ H). While you can experiment with different yarn weights and hook sizes to alter the finished dimensions, the pattern does not provide specific instructions for increasing or decreasing the stitch counts to create different sizes.
Q: What does “sc in BLO” mean?
A: “sc in BLO” means to work a single crochet stitch into the back loop only of the stitch from the previous row. This creates a distinct ribbed texture on your crochet fabric, which is perfect for adding definition to the tree.
Q: How can I display these mini crochet Christmas trees?
A: These mini trees are incredibly versatile! You can string them together to make a festive garland, use them as ornaments on your Christmas tree, attach them to gift packages for a handmade touch, or even use them as charming little decorative accents around your home.