
There’s just something so charming about amigurumi, isn’t there? I absolutely adore making these little stuffed creatures, and this chicken chef is one of my favorites! It’s such a delightful project, perfect for adding a touch of whimsy to your kitchen decor or gifting to a friend who loves to cook (or just loves cute things!). The repetitive nature of the single crochet stitches makes it a relaxing project, and watching this little chef come to life is incredibly satisfying.
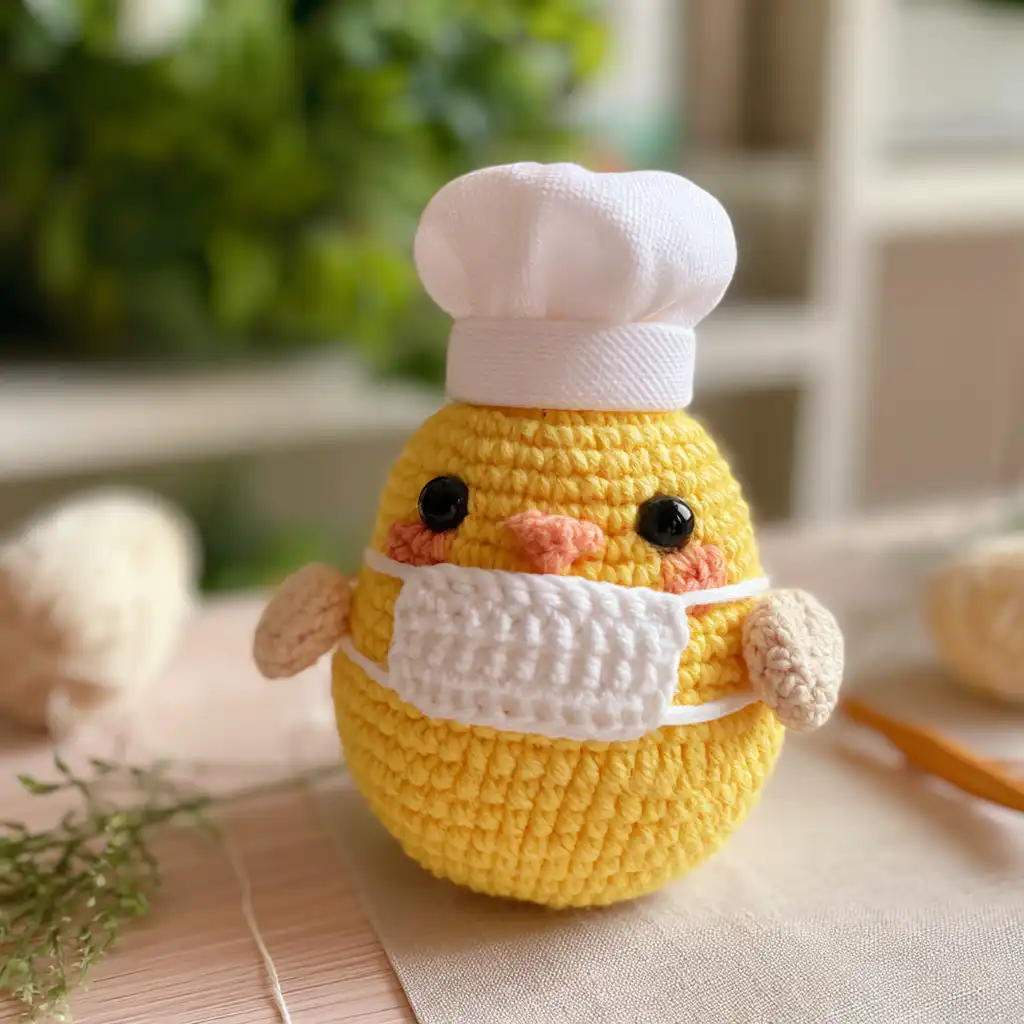
This pattern is designed to be straightforward and fun, even if you’re relatively new to amigurumi. We’ll be working in continuous rounds, building up the body and then adding the cute little chef’s hat, apron, and facial details. It’s a fantastic way to practice your basic crochet stitches and learn a few simple shaping techniques. Get ready to create your very own feathered culinary artist!
Chicken Chef Amigurumi Crochet Pattern
Materials
- Cotton, Acrylic or Sports yarn (5ply, Yarn weight: 2) in Yellow, White & Beige
- Stuffing material
- 8mm safety eyes
- Darning needle
- Glue
- Scissors
- Orange and White yarn or threads to embroider the face details
Finished Size
One size, specific measurements not provided.
Yarn Information
Yarn weight: 2 (Sport weight). Uses Cotton, Acrylic, or Sports yarn. Colors: Yellow, White & Beige. Specific yardage not provided.
Hook and Tools
- Crochet hook (size not specified, but typically a smaller hook is used for amigurumi to create tight stitches)
- Stitch markers (recommended for tracking rounds)
- Darning needle
- Glue
- Scissors
Abbreviations (US Terminology)
- ch – chain
- mr – magic ring
- st – stitch
- R – round / row
- sc – single crochet
- inc – increase (work 2 sc into the same stitch)
- dec – decrease (single crochet two stitches together)
- hdc – half double crochet
- dc – double crochet
- slst – slip stitch
- FLO – front loop only
- * – repeat
- [ ] – total stitch count in each round
Pattern Notes
- This pattern uses US crochet terminology.
- Work in continuous rounds unless otherwise specified. Use a stitch marker to keep track of the beginning of each round.
- Stuff the body firmly as you go, especially after Round 18.
Instructions
Body (Start with Yellow yarn)
To Begin: Start with a magic ring.
R1: Work 7 sc into the magic ring. [7]
R2: 7 inc. [14]
R3: (1 sc, 1 inc) * 7. [21]
R4: (1 sc, 1 inc, 1 sc) * 7. [28]
R5: (3 sc, 1 inc) * 7. [35]
R6-R8: 1 sc in each stitch (3 rounds). [35]
R9: (2 sc, 1 inc, 2 sc) * 7. [42]
R10-R15: 1 sc in each stitch (6 rounds). [42]
R16: (5 sc, 1 dec) * 6. [36]
R17: (4 sc, 1 dec) * 6. [30]
R18: (3 sc, 1 dec) * 6. Start stuffing the body and continue stuffing after each round below. [24]
R19: (2 sc, 1 dec) * 6. [18]
R20: (1 sc, 1 dec) * 6. [12]
R21: 6 dec. [6]
Wings (Make 2 – use Yellow yarn)
To Begin: Start with a slip knot and make 4 ch.
Row 1: Starting from the 2nd ch from the hook, 1 sc, 2 hdc, 1 slst into the next round (this phrasing is a bit unusual; it likely means 1 slst into the last chain to form a small shape). [4 stitches total, shaped]
Apron (Use White yarn)
To Begin: Start with a slip knot and make 8 ch.
R1: Starting from the 2nd ch from the hook, 1 sc in each stitch. [7]
R2-R4: 1 sc in each st (3 rows). [7]
After R4, crochet along the sides of the apron to smoothen out the edges (edging), and add the straps.
Edging: 4 sc, 1 inc in corner, 5 sc, 1 inc in corner, 4 sc.
Straps: Add 30 ch on each side of the apron to make the strap.
Chef’s Hat (Use White yarn)
To Begin: Start with a magic ring.
R1: Work 7 sc in the magic ring. [7]
R2: 7 inc. [14]
R3: (1 sc, 1 inc) * 7. [21]
R4: 10 dec, 1 sc. [11]
R5: FLO, 1 sc in each st. [11]
Beak (Use Orange yarn)
To Begin: Start with a slip knot and make 9 ch.
Row 1: Starting from the 2nd ch from the hook, 5 slst, 3 ch, 1 dc (into the next ch after 5 slst), 1 hdc, 1 sc, 1 slst. [7 stitches + 3 ch]
Finishing
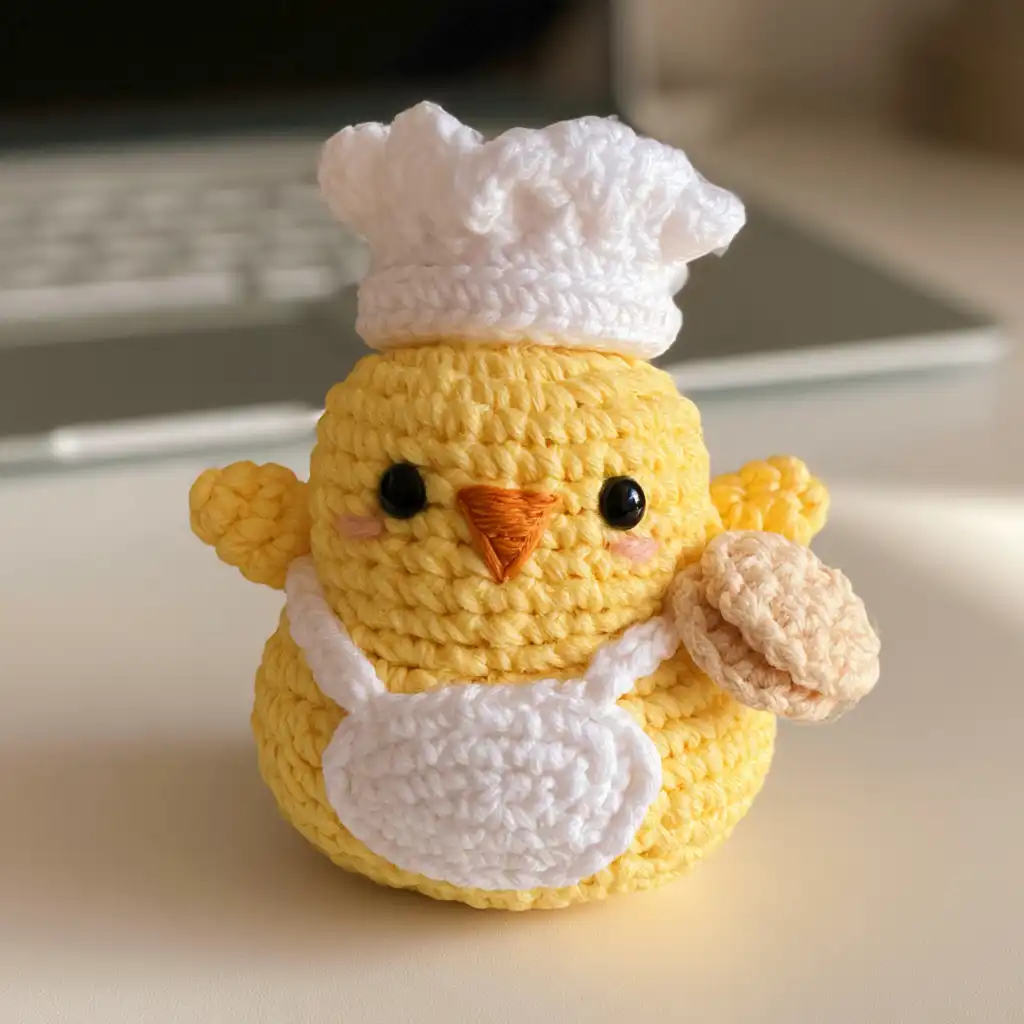
- For the Body: Cut the yarn and close the body opening using a darning needle to weave through the remaining 6 stitches and pull tight.
- For the Wings: Cut the yarn and weave in the ends securely.
- For the Chef’s Hat: Cut the yarn leaving a long tail for sewing.
- For the Beak: Ch 1, cut the yarn and weave in the ends.
Assembly
- Attach Eyes: Insert the 8mm safety eyes between rounds 11 and 12 of the body, approximately 5-7 stitches apart, or to your preference. Secure with washers from the inside.
- Attach Beak: Sew the beak onto the face, just below the eyes, using the tail and a darning needle.
- Embroider Details: Use orange thread to embroider small “v” shapes for the feet at the bottom of the body. Use white thread to add a small highlight or detail to the eyes if desired.
- Attach Wings: Crochet the hands (wings) directly onto the body vertically, on rounds 10 and 11. Position them symmetrically on the sides of the body.
- Attach Apron: Position the apron on the front of the body. Tie the chains from the apron around the back of the chicken’s neck or body. Secure with a few stitches if necessary.
- Attach Hat: Sew the chef’s hat onto the top of the chicken’s head using the long tail and a darning needle.
- Weave in Ends: Weave in all remaining loose yarn ends using your darning needle.
Olivia’s Tips
When working with amigurumi, tension is key! Keeping your stitches tight helps prevent stuffing from showing through, giving your chicken a smooth, professional finish. If you find your stitches are a bit loose, try going down a hook size. Don’t be afraid to really stuff your amigurumi firmly – this helps it hold its shape beautifully. Also, using stitch markers at the beginning of each round is a game-changer for continuous rounds; it saves so much time and prevents miscounting!
For more amigurumi fun, you might enjoy making these adorable amigurumi donuts. They’re another quick and satisfying project!
FAQ
Q: What kind of yarn should I use for this project?
A: The pattern suggests Cotton, Acrylic, or Sports yarn (5ply, yarn weight 2). Choose a yarn that gives you a tight fabric to prevent stuffing from showing.
Q: How do I make sure my amigurumi is firm and holds its shape?
A: Stuff your amigurumi firmly and consistently as you go, especially in the head and body sections. This will help maintain its shape and prevent it from becoming floppy over time.
Q: Can I use different sized safety eyes?
A: The pattern calls for 8mm safety eyes, but you can experiment with slightly smaller or larger eyes to give your chicken chef a different expression. Just make sure they are securely fastened.