
There’s something so magical about looking up at the night sky, and I love bringing a little bit of that wonder into our homes. That’s why I’m so excited to share this adorable crochet moon pillow pattern with you today! It’s a project that brings a touch of whimsy and coziness to any space, and it’s surprisingly simple to make.
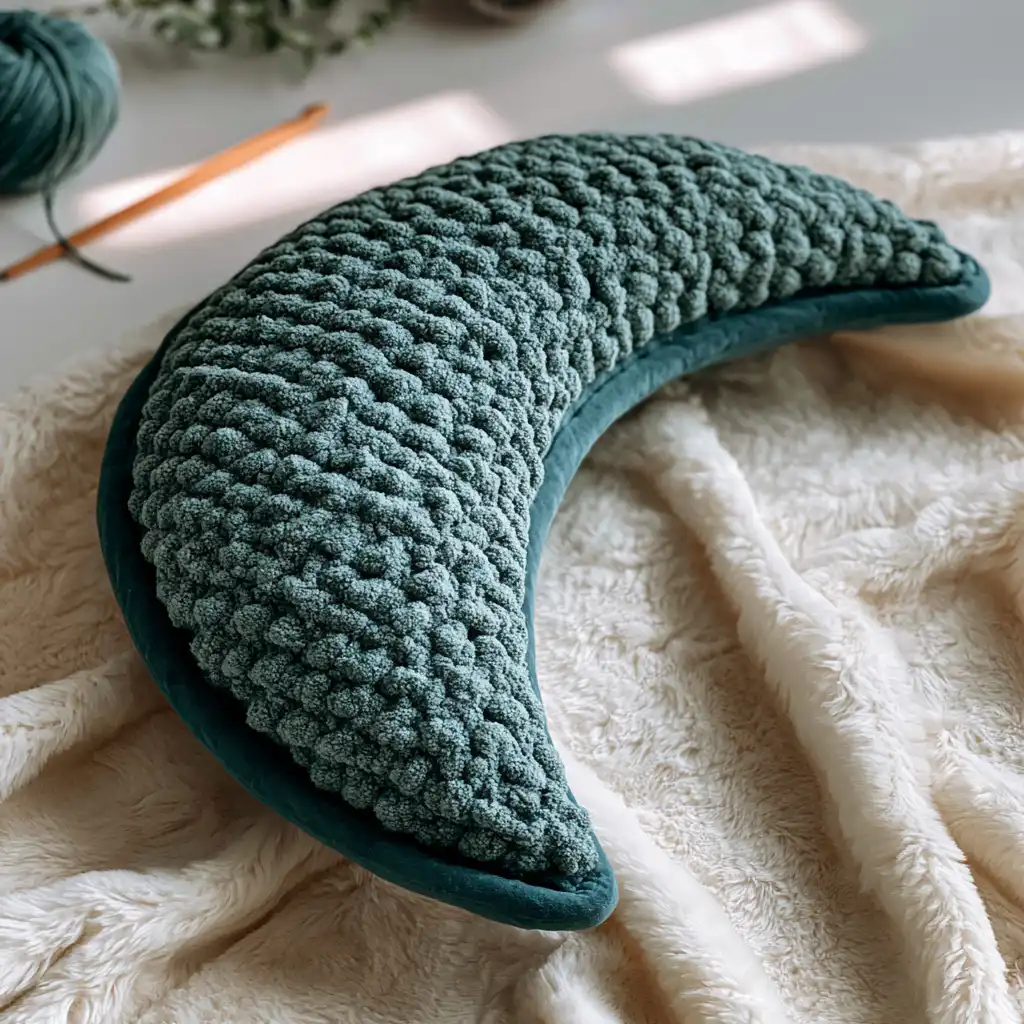
This pattern is fantastic for crocheters of all skill levels, especially if you’re just starting out. We’ll be working in continuous rounds to create that lovely crescent shape, and the super bulky yarn makes it a quick and satisfying project. Imagine snuggling up with your very own handmade moon pillow – it’s perfect for a reading nook, a child’s room, or just adding a unique decorative touch. You can even customize it with your favorite yarn colors to match your decor!
Moon Pillow Crochet Pattern
Materials
- 1 skein Bernat Blanket yarn, 220 yds, #6 Super Bulky (Colors used: Burnt Mustard and Bright Sage)
- US size K (6.5 mm) crochet hook
- Poly-fil for stuffing
- Stitch marker
- Scissors
- Tapestry needle
Finished Size
Approximately 15 inches tall
Yarn Information
- Brand: Bernat
- Name: Blanket
- Weight: #6 Super Bulky
- Yardage: 220 yards per skein
- Colors Used: Burnt Mustard, Bright Sage
Hook and Tools
- US size K (6.5 mm) crochet hook
- Stitch marker
- Scissors
- Tapestry needle
- Poly-fil (for stuffing)
Abbreviations (US)
- ch — chain
- st(s) — stitch(es)
- sl st — slip stitch
- sc — single crochet
- inc — increase (work 2 stitches in the same stitch)
Pattern Notes
- This pillow is worked in continuous rounds. Do not join at the end of your rounds.
- Place your stitch marker in the first stitch of each round to help keep track of the beginning of the round.
- You can use your choice of yarn and hook size, but be aware that this will change the final size of your pillow.
Instructions
To Begin: Ch 2
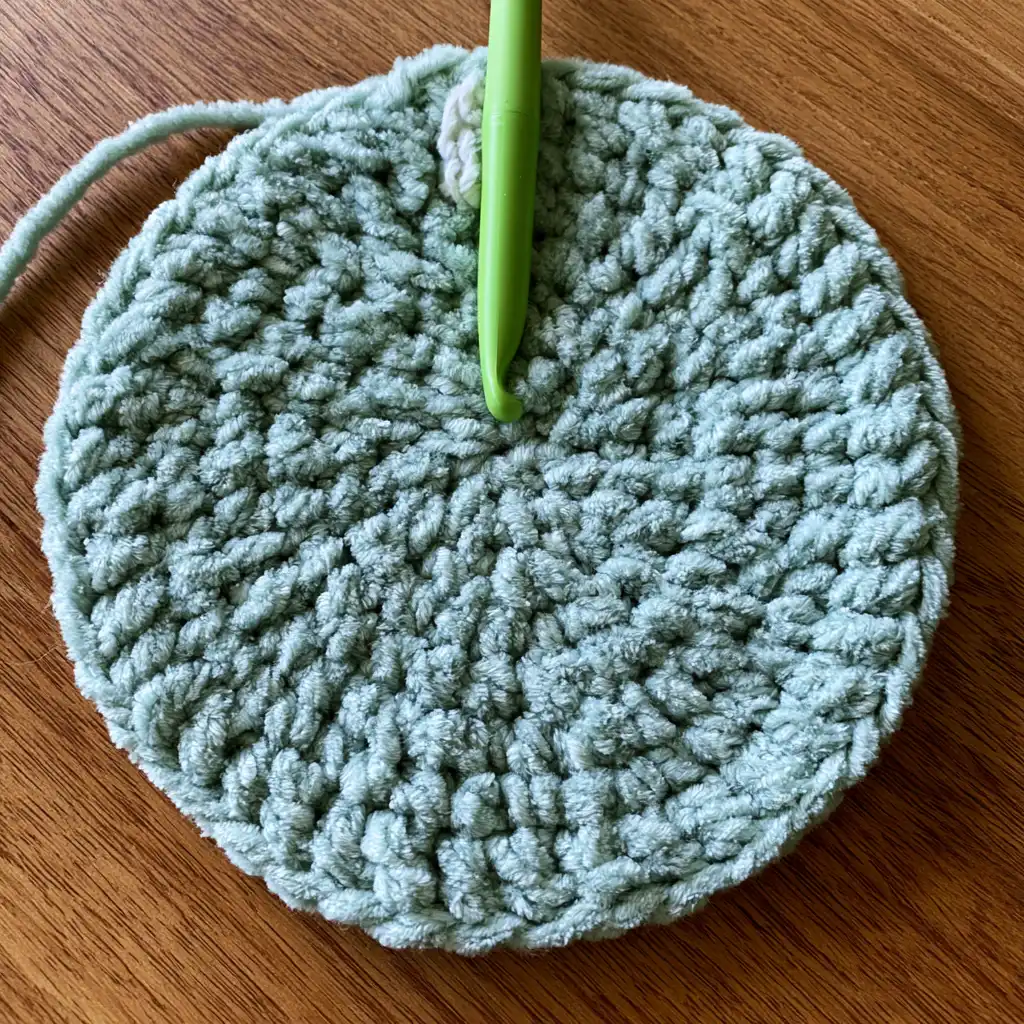
Round 1: Work 10 sc into the 2nd chain from the hook. (10 sts)
Round 2: Inc in each stitch around. (20 sts)
Round 3: *Inc, sc in next st.* Repeat from * to * around. (30 sts)
Round 4: *Inc, sc in next 2 sts.* Repeat from * to * around. (40 sts)
Round 5: *Inc, sc in next 3 sts.* Repeat from * to * around. (50 sts)
Round 6: *Inc, sc in next 4 sts.* Repeat from * to * around. (60 sts)
Round 7: *Inc, sc in next 5 sts.* Repeat from * to * around. (70 sts)
Size Adjustments
You can reduce the number of rounds for a smaller pillow or add more rounds for a larger pillow. When adding rounds, ensure you maintain the correct stitch count needed for each round by continuing the increase pattern (e.g., Round 8 would be *Inc, sc in next 6 sts*).
Finishing
Once you’ve completed Round 7 (or your desired final round), fasten off, leaving a long tail for sewing. Stuff the pillow firmly with Poly-fil. Fold the circle in half to create the crescent moon shape and use the long tail and your tapestry needle to sew the edges together, creating the curve of the moon. Weave in any remaining ends securely.
Olivia’s Tips
Working in continuous rounds can sometimes make it tricky to tell where one round ends and the next begins, so don’t forget that stitch marker! It’s your best friend for keeping track. When you’re stuffing your moon pillow, take your time and stuff it evenly to get a nice, plump shape. For a truly unique look, consider embroidering little stars or a sleepy face on your moon once it’s finished. It’s a fun way to personalize your creation!