
There’s something truly special about a classic crochet granny square. As soon as I saw the vibrant color combinations in the Naztazia tutorial, I was captivated! Each square seems to bloom from the center, with rich, layered stitches framed by a calming neutral border. It gives the finished piece a wonderful heirloom quality – like something passed down through generations, yet still feeling completely fresh and modern.
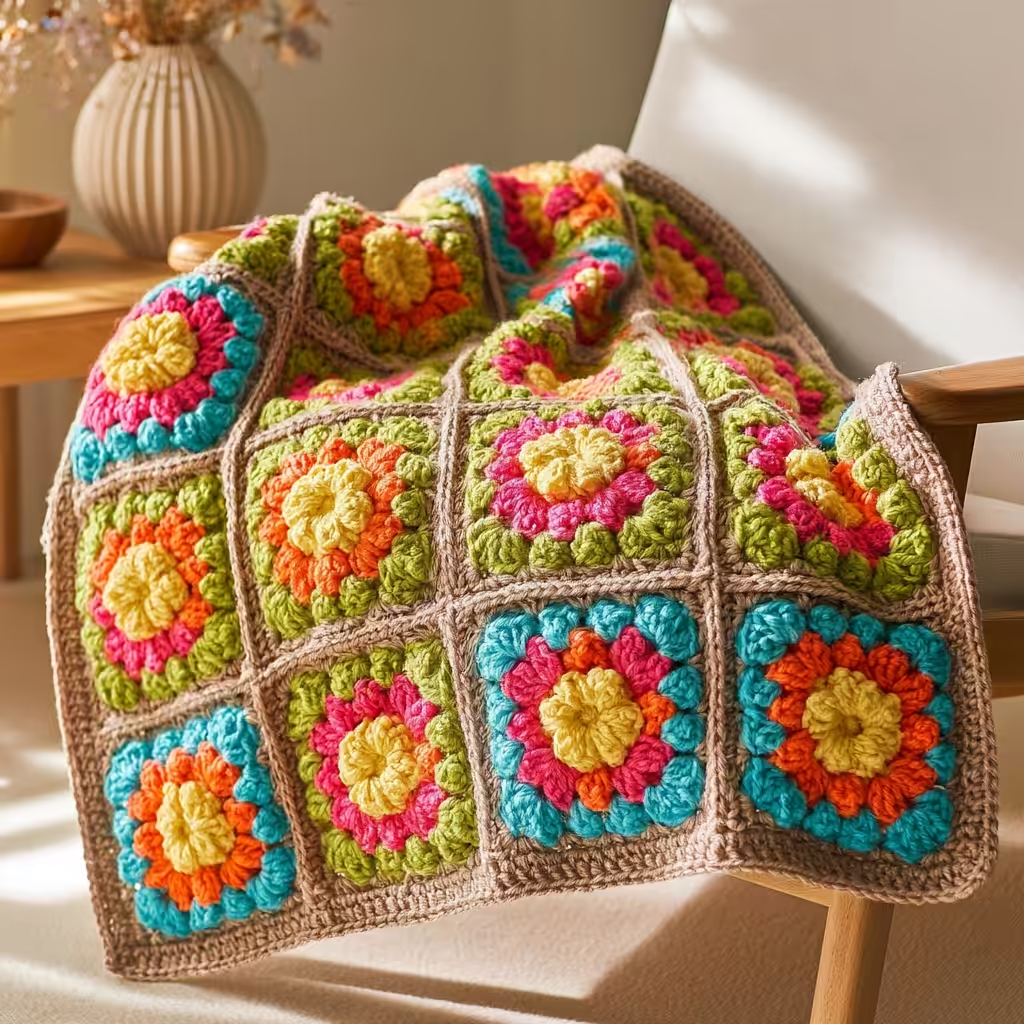
Granny squares are incredible because they offer the best of both worlds: they’re nostalgic and comforting, but also incredibly versatile for modern projects. The open, lace-like structure of these squares, with their double crochet clusters and chain spaces, creates a fabric that’s airy yet holds its shape beautifully. The neutral border yarn brings a sense of calm and cohesion, allowing even the boldest interior colors to shine without overwhelming the eye. This project is a fantastic choice for beginners looking for a repetitive and forgiving craft, and it’s also a wonderful canvas for intermediate crocheters to experiment with color and construction.
While the tutorial showcases a joyful palette of hot pink, yellow, green, turquoise, and orange against a warm linen shade, the beauty of granny squares is how easily you can make them your own. Imagine them in soft dusty rose, sage, and cream for a vintage feel, or a monochromatic scheme of blues for a coastal vibe. The color story is entirely yours to write!
Crochet Granny Squares Pattern
Materials and Tools
- Worsted weight yarn (cotton-acrylic blend recommended for vibrancy and drape)
- 5mm crochet hook
- Yarn needle (for weaving in ends)
Yarn Information
For a blanket or throw, worsted weight yarn is ideal. A cotton-acrylic blend offers excellent color vibrancy and a gentle structure that blocks smoothly. The specific brand and yardage will depend on your project size and color choices.
Finished Size
Each granny square can be worked to your desired size by adding more rounds. The finished size of a project (like a blanket or throw) will depend on the number and size of squares you make.
Hook and Tools
- 5mm crochet hook
- Yarn needle
Abbreviations
- CH — Chain
- SC — Single Crochet
- DC — Double Crochet
- SL ST — Slip Stitch
Pattern Notes
- Each granny square is worked in the round from a central magic ring.
- The pattern uses clusters of three double crochets (3 DC) to form the main “petal” shapes.
- Chain spaces are used to create the open, lacy effect and for corner turns.
- Weaving in ends as you go is highly recommended to save time later.
- The project is suitable for a join-as-you-go method, which eliminates the need for sewing squares together at the end.
Instructions
These instructions describe how to make one granny square. Repeat for as many squares as your project requires.
To Begin: Create a magic ring.
Round 1: Ch 3 (counts as 1 DC), 2 DC into the ring, ch 2, *3 DC into the ring, ch 2*. Repeat from * to * two more times. Join with a sl st to the top of the beginning ch 3. Pull magic ring tight. (12 DC, 4 ch-2 spaces)
Round 2: Sl st into the next 2 DC to reach the first ch-2 space. Ch 3 (counts as 1 DC), (2 DC, ch 2, 3 DC) into the same ch-2 space (this forms your first corner). *Ch 1, (3 DC, ch 2, 3 DC) into the next ch-2 space*. Repeat from * to * two more times. Ch 1, join with a sl st to the top of the beginning ch 3. (24 DC, 4 ch-2 corner spaces, 4 ch-1 side spaces)
Round 3: Sl st into the next 2 DC to reach the first ch-2 corner space. Ch 3 (counts as 1 DC), (2 DC, ch 2, 3 DC) into the same ch-2 space. *Ch 1, 3 DC into the next ch-1 side space, ch 1, (3 DC, ch 2, 3 DC) into the next ch-2 corner space*. Repeat from * to * two more times. Ch 1, 3 DC into the next ch-1 side space, ch 1, join with a sl st to the top of the beginning ch 3. (36 DC, 4 ch-2 corner spaces, 8 ch-1 side spaces)
Subsequent Rounds: Continue building rounds by working (3 DC, ch 2, 3 DC) into each corner ch-2 space, and 3 DC into each ch-1 side space, separated by ch 1. Each round will add one additional 3 DC cluster along each side between the corners. Change colors as desired at the end of any round by fastening off and joining new yarn with a sl st in a corner space.
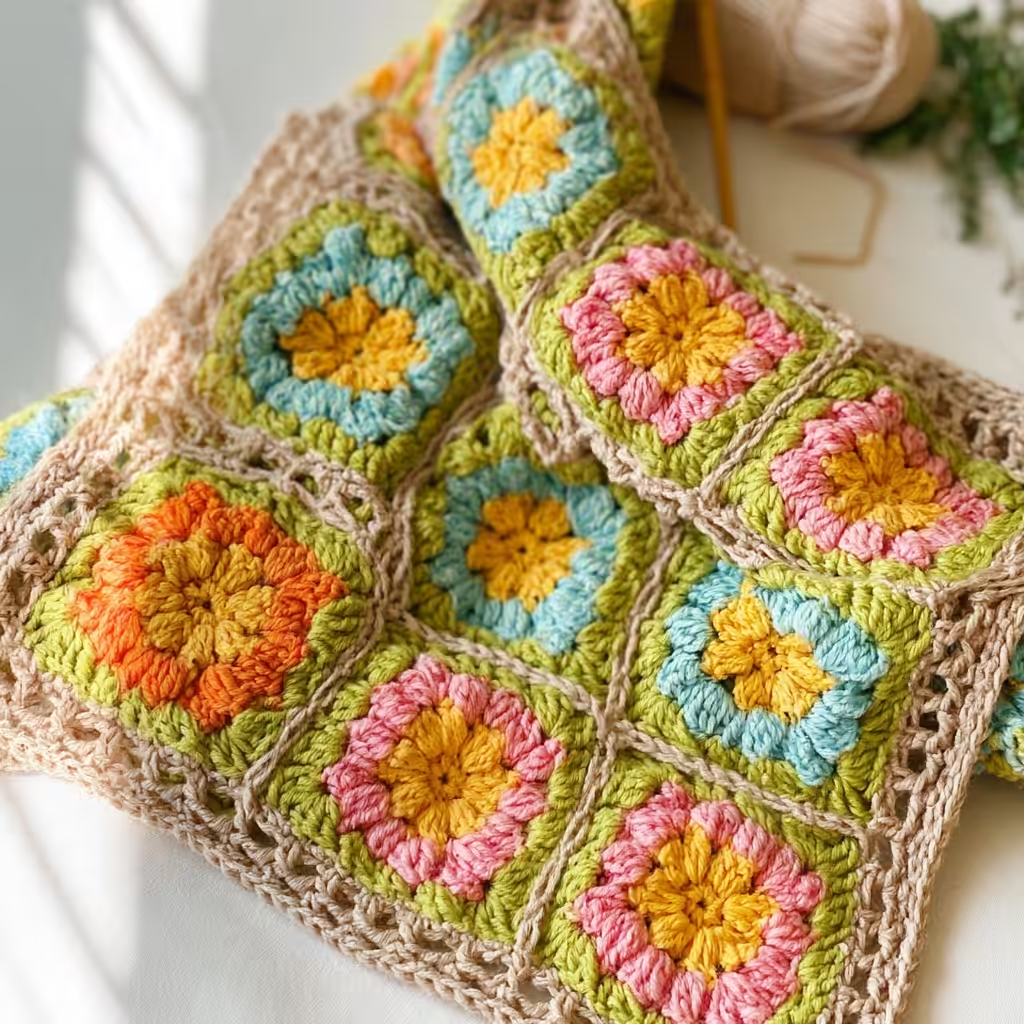
Finishing
Fasten off the yarn securely after your final round. Weave in all loose ends using a yarn needle. If you are changing colors frequently, weaving in ends as you go will save significant time at the end.
Assembly
The Naztazia tutorial recommends a join-as-you-go method, which creates an elegant chain-linked seam and eliminates the need for sewing. If you prefer to join your squares after they are all made, a simple single crochet seam or whip stitch can be used.
Olivia’s Tips
I find that changing colors frequently is one of the most exciting parts of making granny squares. Don’t be afraid to experiment with bold combinations! To keep your edges neat and avoid bulk, I always recommend weaving in your ends as you complete each square or color change. It feels like a small task at the moment, but it makes a huge difference in the finishing stage. For a cohesive look, consider using a consistent neutral color for the last round or two of each square, especially if you’re working with a very varied color palette. This helps tie all the different squares together beautifully.