
Hello, lovely crocheters! Olivia here, and today I’m so excited to share a truly fantastic pattern for an easy crochet beanie hat. This project is one of my favorites because it’s incredibly satisfying to make and perfect for anyone just starting their crochet journey. If you’re looking for a quick, cozy, and practical item you can whip up in an afternoon, you’ve found it!
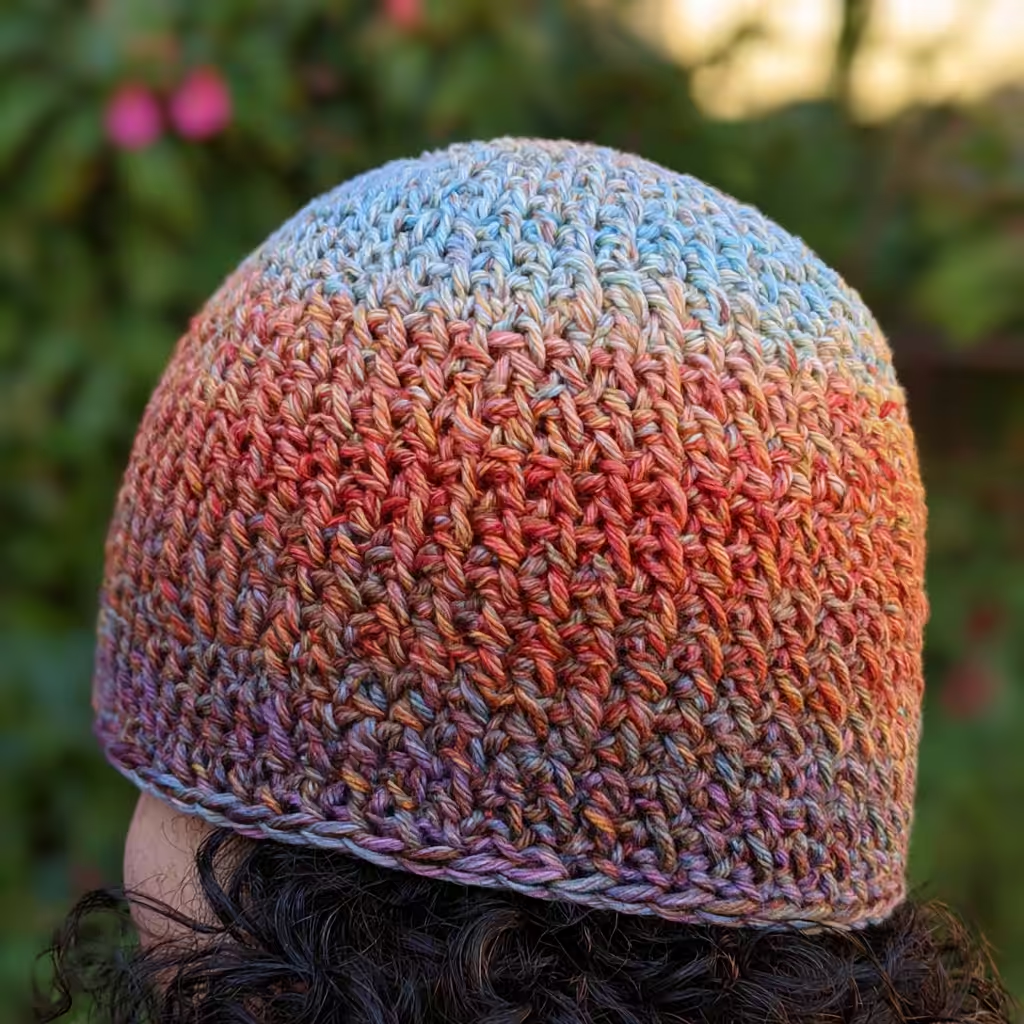
I just adore how quickly this beanie comes together. It uses simple stitches and a straightforward construction, making it an ideal project for beginners to practice their half double crochets and learn how to work in the round. Plus, the result is a wonderfully warm and stylish hat that makes a fantastic gift or a lovely addition to your own winter wardrobe. You’ll be working from the top down, increasing rounds to create the crown, and then working straight until you reach your desired length. Let’s get started on your new favorite beanie!
Easy Crochet Beanie Hat Crochet Pattern
Materials
- Cascade Yarns® 220 Superwash® Aran Wave — 100% Superwash Wool, 100 g (3.5 oz), 150 yds (137.5 m)
- Color: #124 Beach Sunset — 1 skein
Finished Size
- 20–22” head circumference
- Finished Hat Circumference: 20”
Hook and Tools
- H (5.0 mm) crochet hook
- Yarn needle
Abbreviations
- hdc — half double crochet
- rnds — round(s)
- sc — single crochet
- sl st — slip stitch
Pattern Notes
- This pattern is worked in continuous rounds, meaning you will not join with a slip stitch at the end of each round unless specified.
- Use a stitch marker to keep track of the beginning of your rounds.
- The initial chain does not count as a stitch.
Gauge
15 sts x 14 rounds = 4” (10 cm) in hdc
Instructions
To Begin: Make a magic ring. Work 8 sc into the magic ring.
Rnd 1: 2 hdc in each sc. (16 hdc)
Rnd 2: *1 hdc, 2 hdc in next st.* Repeat from * to * around. (24 hdc)
Rnd 3: *2 hdc, 2 hdc in next st.* Repeat from * to * around. (32 hdc)
Rnd 4: *3 hdc, 2 hdc in next st.* Repeat from * to * around. (40 hdc)
Rnd 5: *4 hdc, 2 hdc in next st.* Repeat from * to * around. (48 hdc)
Rnd 6: *5 hdc, 2 hdc in next st.* Repeat from * to * around. (56 hdc)
Rnd 7: *6 hdc, 2 hdc in next st.* Repeat from * to * around. (64 hdc)
Rnd 8: *7 hdc, 2 hdc in next st.* Repeat from * to * around. (72 hdc)
Rnd 9: *8 hdc, 2 hdc in next st.* Repeat from * to * around. (80 hdc)
Remaining Rnds: Hdc around until desired length is reached (approximately 6-7 more rounds, or until the hat measures about 8-9 inches from the crown to the brim). Continue until the hat measures approximately 8-9 inches from the top of the crown to the bottom edge.
Finishing
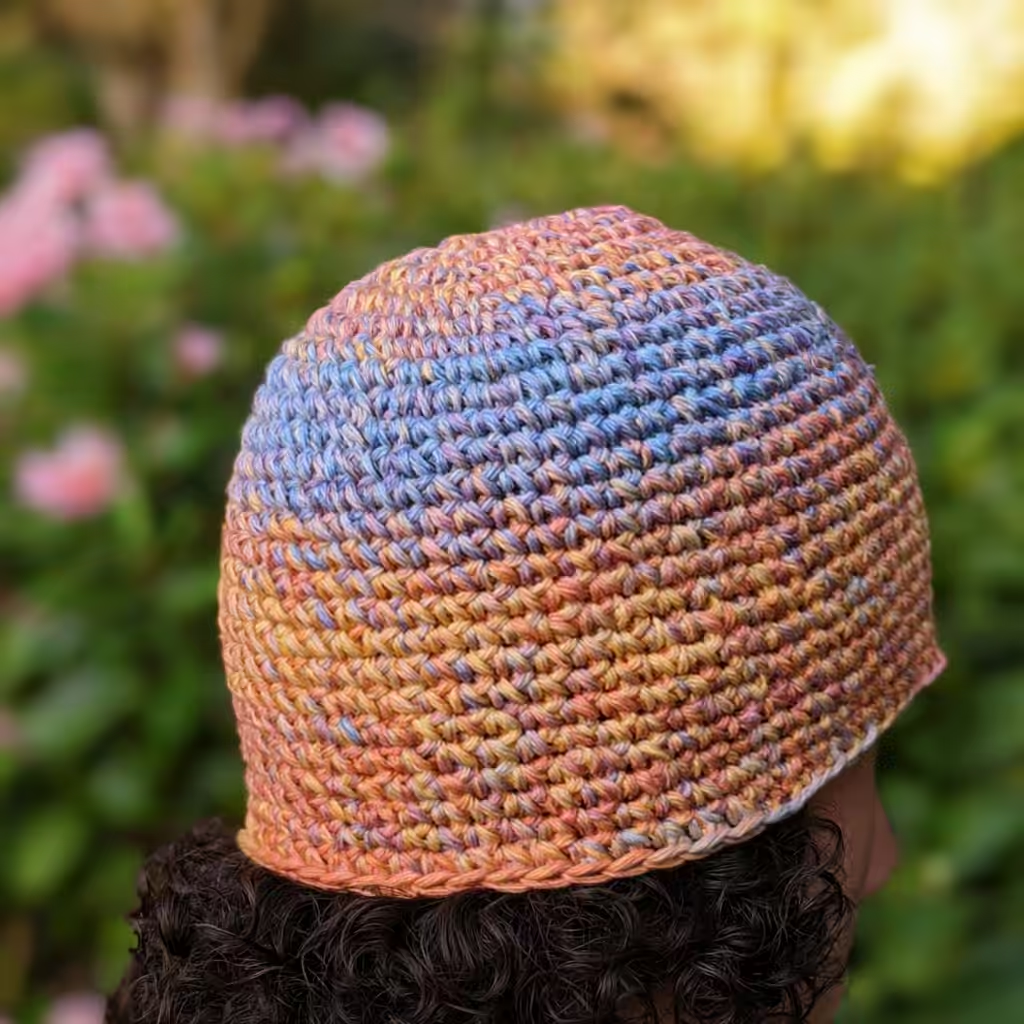
Sl st around the final round to create a neat edge. Fasten off and weave in all loose ends with your yarn needle.
Olivia’s Tips
- Consistent Tension: Maintaining an even tension throughout your project will help ensure your stitches are uniform and your beanie has a professional finish.
- Stitch Markers are Your Friend: Especially when working in continuous rounds, a stitch marker placed at the beginning of each round will save you from constantly counting and keep your stitch count accurate.
- Check Your Gauge: While this is a forgiving pattern, checking your gauge is a good habit to get into. It helps ensure your finished hat will be the correct size. If your gauge is off, try going up or down a hook size.
- Weave in Ends Neatly: Take your time weaving in your ends. A well-woven end disappears into the fabric and prevents your project from unraveling.