
There’s something so wonderfully satisfying about creating handmade items that bring a touch of charm and personality to your home. As summer approaches, I always find myself drawn to projects that are quick, colorful, and celebrate the season. That’s exactly how this patriotic crochet flower potholder came to be!
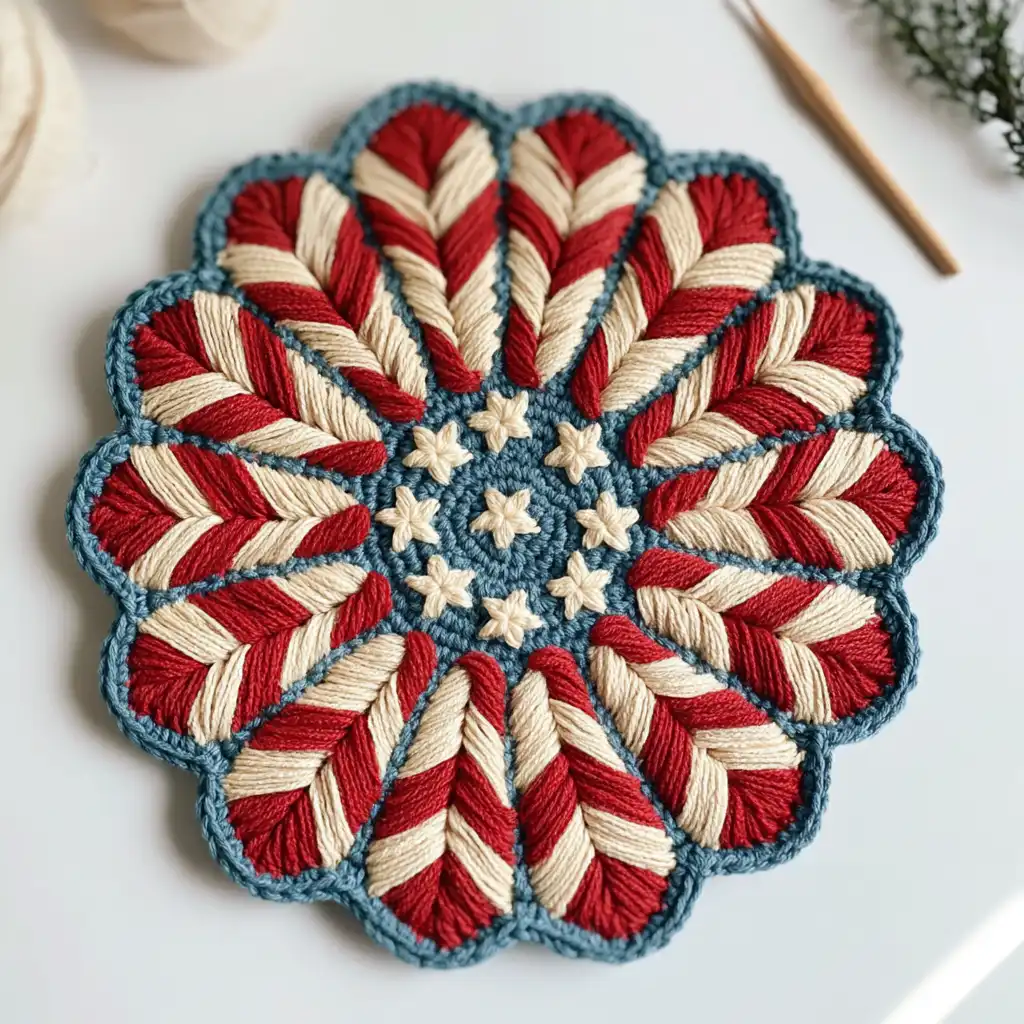
I absolutely adore the timeless design of flower motifs, and by simply switching up the colors, you can transform a classic into something entirely new. This red, white, and blue version of my vintage-inspired flower potholder is perfect for adding a festive touch to your kitchen, especially for Fourth of July celebrations or as a thoughtful handmade gift. It’s a fantastic project for crocheters of all skill levels, and you’ll love watching the beautiful petals take shape.
In this pattern, you’ll create two flower petals that are then seamed together to form a sturdy, functional potholder. We’ll also add some embroidered stars for that extra patriotic flair and a convenient hanging loop. The pattern is worked in rounds, and while it looks intricate, the step-by-step instructions make it very approachable. Get ready to crochet something fun, festive, and just a little bit nostalgic!
Patriotic Crochet Flower Potholder Crochet Pattern
Materials
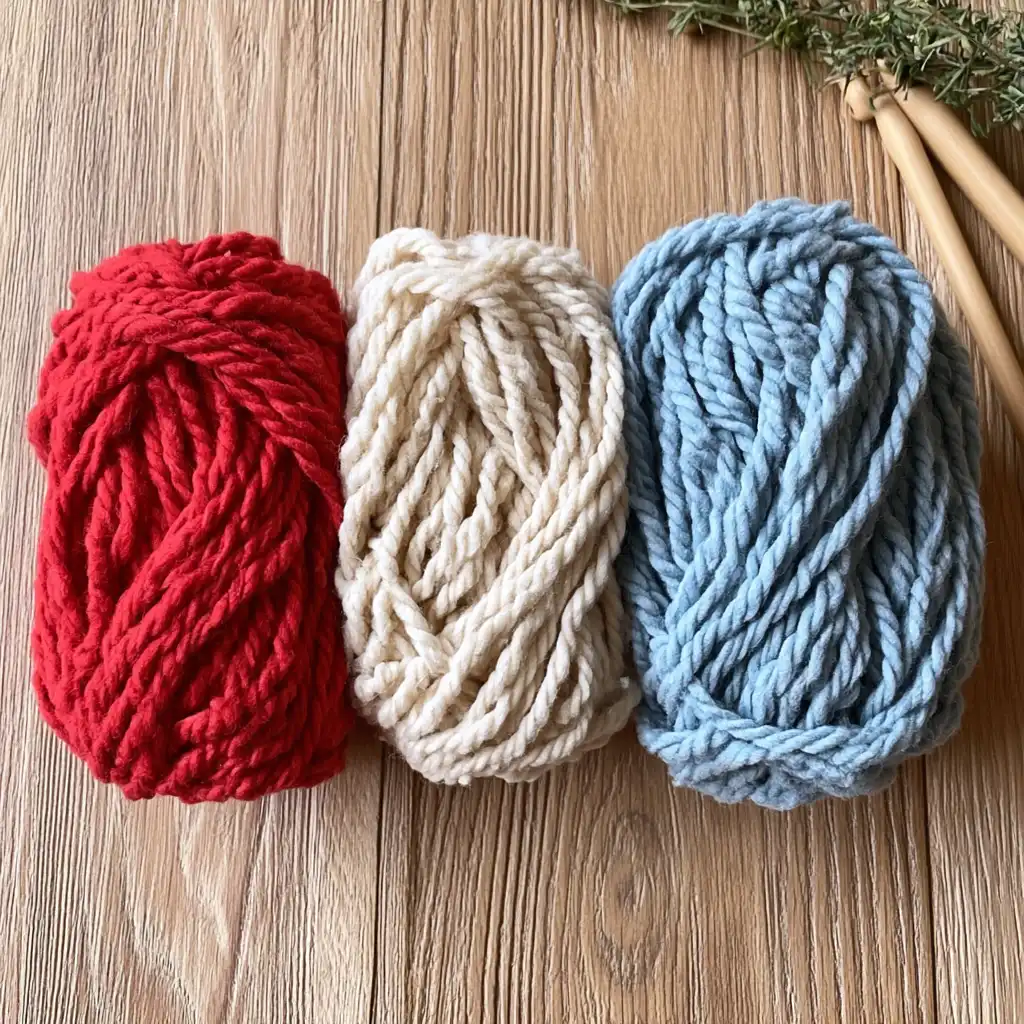
- Lion Brand Cotton Hemp Yarn in Cherry (Weight 4/3.5oz 164 yds) – 1 skein (total 164 yards)
- Lion Brand Cotton Hemp Yarn in Husk (Weight 4/3.5oz 164 yds) – 1 skein (total 164 yards)
- Lion Brand Cotton Hemp Yarn in Neptune (Weight 4/3.5oz 164 yds) – 1 skein (total 164 yards)
- 4.5mm (G) Crochet Hook
- Stitch Markers
- Darning Needle
- Scissors
Finished Size
Crochet flower potholder (petal to petal): 12 1/2 inches
Yarn Information
This pattern uses Lion Brand Cotton Hemp Yarn, a worsted weight (number 4) yarn. Each skein is 3.5 oz (164 yds). You can substitute with any worsted weight number 4 yarn.
Hook and Tools
- 4.5mm (G) Crochet Hook
- Stitch Markers
- Darning Needle
- Scissors
Abbreviations (U.S. Terms)
- st – stitch
- ch – chain: Yarn over, pull through loop on hook.
- slst – slip stitch: Insert hook into stitch, yarn over, pull through stitch and loop on hook.
- sc – single crochet: Insert hook into stitch, yarn over and pull through, yarn over and pull through last two loops on hook.
- dc – double crochet: Yarn over, insert hook into stitch and pull through, yarn over and pull through first two loops on hook, yarn over and pull through last two loops on hook.
Pattern Notes
- Pattern is written in U.S. terms.
- This pattern is explained in 4 parts:
- How to crochet the petals (you will make 2).
- How to make the stars on the circle part of your petal.
- How to seam your potholder together.
- How to add a loop to your potholder.
- Total stitches for the row are indicated between parentheses ( ).
- A guided video tutorial is available that shows how to make a seamless color change and how to embroider the stars on the potholder. Note that the video tutorial uses a different hook size and yarn, but the pattern itself is the same.
Gauge
14 double crochet stitches x 6 rows = 4 x 4 inch square
Instructions
Make 2 flower petals.
Part 1: Crocheting the Petals
Starting with the color Neptune:
Round 1: Make a magic circle, and chain 3 (counts as a dc). Now make 14 dc within your magic circle, and join with a slst to the 3rd chain. (15 sts)
Round 2: Ch 3 (counts as a dc). Make 1 dc in the same st that ch is coming from. Make 2 dc in each remaining st. Join with a slst to the third ch. (30 sts)
Round 3: Ch 3 (counts as a dc). *Make 2 dc in the next st. Make 1 dc in the st after that. Rep from * to the last st. Make 2 dc in the last st. Join with a slst to the third ch. (45 sts)
Now make another slst in the following chain, and then make 1 more slst, but as you’re finishing your last slst, change to the color Cherry for a seamless color change.
Round 4: Ch 4 (counts as 1 dc + ch), then make 1 dc in the same st that ch is coming from. *Skip 2 st, then make (1 dc, ch 1, 1 dc) in the following st, then ch 1. Rep from * till last 2 st. Then slst to 3rd ch, and make 1 more slst in the following space. (15 groups of (1dc, ch 1, 1 dc))
Switch to color Husk
Round 5: Ch 3 (counts as a dc), then make another dc, ch 1, and 2 dc in ch 1 space from previous row and ch 1. *Skip the next ch space, and work (2 dc, ch 1, 2 dc) in the following ch 1 space from previous row, and ch 1. Rep from * till last chain. Then slst to 3rd chain, and make 1 more slst in the space from the previous row. (15 groups of (2 dc, ch 1, 2 dc))
Switch to color Cherry
Round 6: Repeat Round 5.
Switch to color Husk
Round 7: Ch 3 (counts as a dc), then make 2 dc, ch 1, and 3 dc in ch 1 space from previous row and ch 1. *Skip the next ch space, and work (3 dc, ch 1, 3 dc) in the following ch 1 space from previous row, and ch 1. Rep from * till last chain. Then slst to 3rd chain, and make 2 more slst in the next 2 st from the previous row. (15 groups of (3 dc, ch 1, 3 dc))
Switch to color Cherry
Round 8: Ch 3 (counts as a dc), then make 3 dc, ch 2, and 4 dc in ch 1 space from previous row and ch 1. *Skip the next ch space, and work (4 dc, ch 2, 4 dc) in the following ch 1 space from previous row, and ch 1. Rep from * till last chain. Then slst to 3rd chain, and make 3 more slst in the next 3 st from the previous row. (15 groups of (4 dc, ch 2, 4 dc))
Switch to color Husk
Round 9: Repeat Round 8.
Switch to color Cherry
Round 10: Ch 3 (counts as a dc), then make 4 dc, ch 2, and 5 dc in ch 2 space from previous row and ch 1. *Skip the next ch space, and work (5 dc, ch 2, 5 dc) in the following ch 2 space from previous row, and ch 1. Rep from * till last chain. Then slst to 3rd chain, and make 4 more slst in the next 4 st from the previous row. (15 groups of (5 dc, ch 2, 5 dc))
Part 2: Adding the Stars
For this part, you will need a sharp darning needle and the yarn color Husk. You will add the stars to the circle part of your potholder. I added a total of 6 stars to my potholder, but you can add as many as you like.
To make the stars, you will create two triangles (one facing the correct way, and the other facing downwards over the first triangle). Then you will fill it in with yarn.
Step 1: Starting in the center, bring the needle up from the back to the front (this is your first corner).
Step 2: Insert the needle into a second corner (to the side) and pull through.
Step 3: Now bring the needle up, but insert it into the third corner (to the side) and connect it with one of the corners to form your triangle.
Step 4: Now repeat Steps 1-3 to make another triangle over the one you just made, making sure it’s facing downwards.
Step 5: Once both triangles have been made, fill it in with the yarn by working your yarn backwards and forwards.
Continue to repeat these steps until you have 6 stars on your circle.
Part 3: Seaming the Flower Petals Together
Now you’re going to seam your two flower petals together to create the potholder. This section is explained in steps for clarity.
Step 1: Place your two flower petals on top of each other, making sure that the right side is facing up (you want the wrong sides facing each other).
Step 2: Then place a stitch marker at the top of every 3rd group to hold the two flower petals together.
Step 3: Once you have added your stitch markers, grab your yarn (color Neptune), and reattach it to the ch 2 space of any one of the groups.
Step 4: Then work 5 sc in each of the dc stitches from the group of 5 (making sure that you’re working your hook through both of the petals), and then work a slst in the ch 2 space from the previous row.
Step 5: Now work 6 more slst going down in each ch 2 space, making sure not to pull tight on your slst. You want your slst to be loose for this part of the tutorial. If you create very tight slst, your groups will start to bunch together and your petals will start to curve upward.
Step 6: Once you have worked your slst going down, make 1 slst in the third round of your circle. Then work another slst in the following stitch, and then work your way back upwards making slst in each ch 2 space.
Step 7: Then continue by working 5 more sc in each dc stitch from the group of 5, and then work 3 sc in the space between the group of 5.
Step 8: Repeat Steps 4-7 for each petal. Once you have finished working your last petal, slst to the first dc within the group of 5.
Step 9: Remove all your stitch markers, and finish off your work.
Part 4: Adding a Hanging Loop
Step 1: Reattach your yarn (color Neptune) to any petal of your potholder and chain 20.
Step 2: Once you have chained 20, slip stitch it to the center of the ch 2 space.
Step 3: Work 20 sc within your loop.
Step 4: Cut your yarn and finish off your work.
Finishing
Finish off and weave in all your ends securely. Blocking is not typically necessary for potholders, but you can gently shape it if desired.
Olivia’s Tips
This patriotic flower potholder is such a joy to make, and I’ve found a few things that really help make the process even smoother. First, don’t be afraid to use your stitch markers! They are incredibly helpful, especially when joining the two petals, to ensure everything lines up perfectly. Also, when you’re working the slip stitches for seaming, remember the note about keeping them loose; this prevents your potholder from puckering and keeps those beautiful petals flat. The color changes in this pattern are what really make it pop, so take your time with them to get a seamless transition. If you’re new to color changes, the video tutorial mentioned in the pattern notes can be a great visual guide. This project also makes a wonderful gift, so consider making a few in different color combinations – perhaps for other holidays or just to match various kitchen decors!
FAQ
- What type of yarn is best for a potholder?
- For potholders, it’s generally best to use 100% cotton yarn because it can withstand heat without melting, unlike acrylic or other synthetic fibers.
- How do I make my color changes look seamless?
- The pattern provides a specific instruction for a seamless color change at the end of Round 3. For general seamless color changes, you typically complete the last yarn over of the final stitch of the old color with the new color.
- Can I make this potholder larger or smaller?
- This pattern is written for a single size. Modifying the size would require adjusting the initial rounds and subsequent increase rounds, which is not covered in this pattern.
- How do I embroider the stars if I’m new to it?
- The pattern provides step-by-step instructions for creating the stars by forming two triangles and then filling them in. Practicing on a scrap piece of fabric or a spare crocheted circle can help build confidence.