
There’s something truly special about taking a simple hook and yarn and transforming it into a piece of art. That’s exactly how I feel about the Willow Granny Square! This pattern is a fantastic way to create a stunning square with an elegant, floral-inspired design. Its lovely textures and delicate details make it incredibly versatile, perfect for adding a touch of handmade charm to blankets, pillows, bags, or even clothing accents.
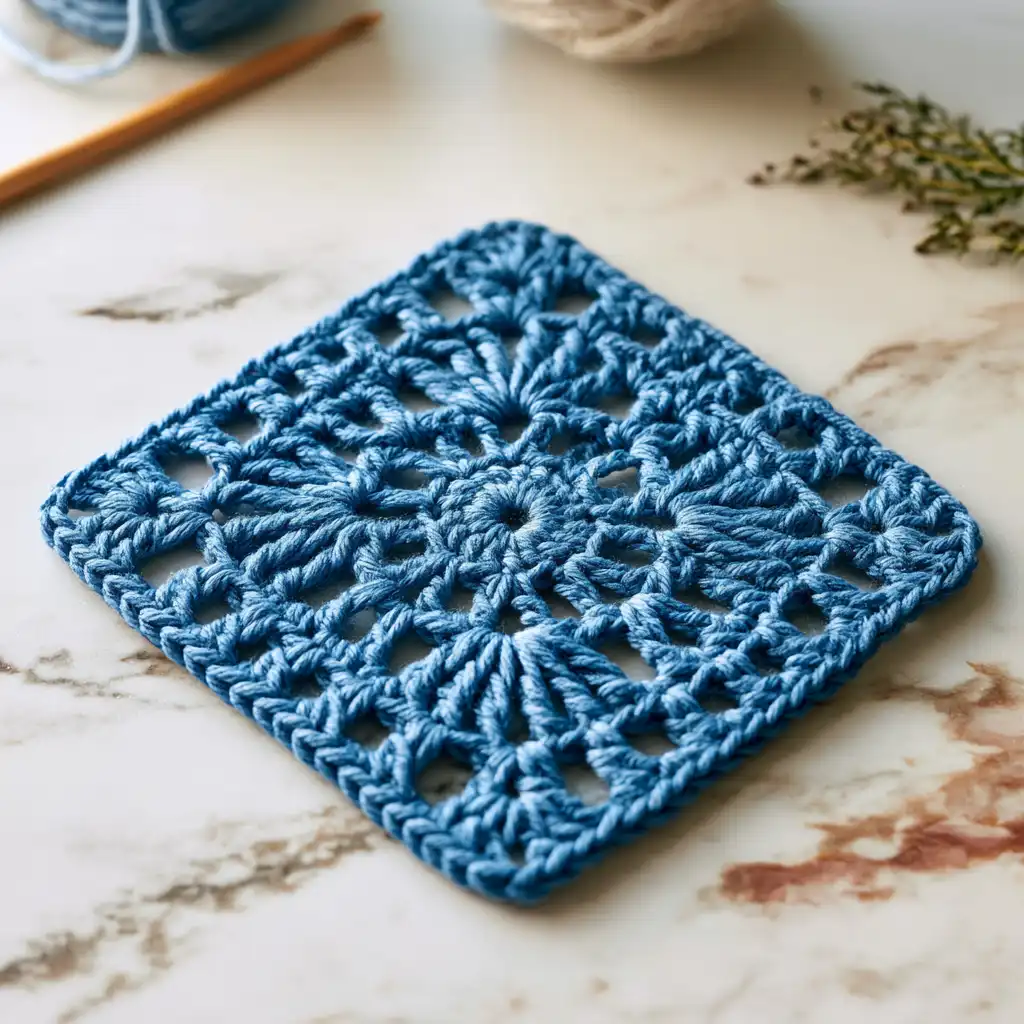
What I adore about the Willow Granny Square is its unique blend of traditional granny square charm with a fresh, modern twist. The design allows for endless color possibilities, so each square you make can be truly one-of-a-kind. Whether you’re looking to expand your skills or simply enjoy a satisfying project, this pattern delivers beautiful results every time. It’s a wonderful way to bring warmth and creativity into your home or to craft a thoughtful, personalized gift for someone special.
Willow Granny Square Crochet Pattern
Skill Level
Intermediate to Advanced.
Materials
- Yarn: Stylecraft Special DK or any Double Knit (DK) weight yarn.
- Hook Size: 4 mm (G/6)
- Additional Tools: Scissors, Darning needle for weaving in ends.
Abbreviations (US Terminology)
- ch — Chain
- sl st — Slip Stitch
- sc — Single Crochet
- dc — Double Crochet
- yo — Yarn Over
- st(s) — Stitch(es)
- sp — Space
Pattern Notes
- Ensure your tension is consistent to maintain the overall shape and symmetry of the square.
- The chain stitches made at the beginning of each round count as your first stitch unless otherwise specified.
- Corner spaces are always worked with increases to keep the square flat.
Instructions
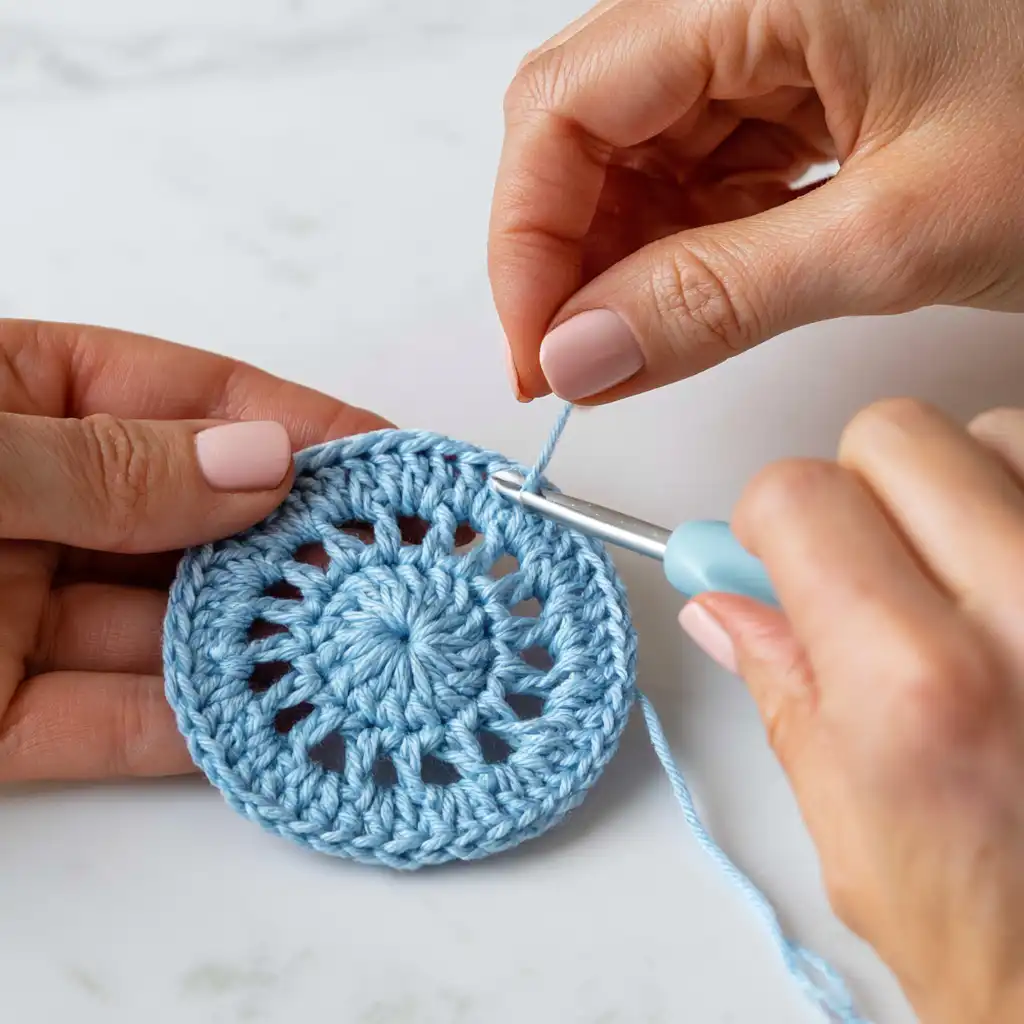
Round 1: Foundation Circle
- Begin with a slip knot and attach the yarn to your hook.
- Chain 4 and join with a sl st into the first chain to form a circle.
- Ch 3 (counts as the first dc).
- Work 15 dc into the circle for a total of 16 dc (including the starting ch-3).
- Join with a sl st to the first ch-3 to close the round.
Round 2: Setting the Framework
- Ch 4 (counts as the first dc + ch-1).
- Work 1 dc in the next stitch, ch 1. Repeat this all the way around (dc in each st and ch 1 in between).
- You should have 16 dc and 16 ch-1 spaces (including the initial ch-4).
- Join with a sl st to the 3rd chain of the beginning ch-4.
Round 3: Increasing the Circle
- Ch 3 (counts as the first dc).
- In the next ch-1 space, work 2 dc.
- Work 1 dc in the next st, then 2 dc in the next ch-1 space. Repeat this all the way around.
- You should have 48 dc at the end of this round.
- Join with a sl st to the top of the starting ch-3.
Round 4: Transitioning to a Square
- Single Crochet Start: Make 1 sc in the stitch after the ch-3.
- Corner Formation: Ch 5, skip 2 sts, sc into the next st. This forms the first corner of your square.
- Side Formation: Ch 3, skip 2 sts, sc into the next st. Repeat this step 3 times to create the first side of the square.
- Repeat for Each Side: Alternate corner and side formation until you reach the beginning.
- Corners: Ch 5, skip 2, sc in the next.
- Sides: Three ch-3 spaces, each followed by sc (skip 2).
- Join Round: Complete with a sl st into the first sc.
Round 5: Adding Shells
- Move to the Corner: Sl st into the next ch-5 space.
- Ch 3 (counts as 1 dc). Work 4 more dc into the same ch-5 space (5 dc total in each corner).
- Ch 3 (new corner), then work 5 more dc into the same ch-5 space.
- Work Along the Side: Sc into the first ch-3 space, 7 dc into the next ch-3 space. Repeat to form the side.
- Repeat the corner and side pattern until the round is complete.
- Join with a sl st to the top of the first ch-3.
Round 6: Framing the Square
- Ch 3 (counts as dc). Ch 5 and sc into the corner space.
- Form the Corner: Ch 3 and sc into the same corner space.
- For the sides: Ch 5, skip 5 sts, dc into the sc from the previous round. Ch 3, skip 3 sts, sc into the next (repeat across the side).
- Continue this framework pattern for each side and corner.
- Join with a sl st to the first ch-3.
Round 7: Expanding the Shells
- Ch 3 (counts as dc). Work 4 dc into the first ch-5 space (5 dc total in the first space).
- In the corner space: Work 3 dc, ch 3, 3 dc into the corner space.
- Create the Side: Work 5 dc into each ch-5 space and 3 dc into each ch-3 space. Repeat across the side.
- Continue the corner and side pattern for the remaining sides.
- Join with a sl st to the top of the first ch-3.
Round 8: Adding Texture with Open Spaces
- Ch 4 (counts as dc + ch-1).
- Skip 1 st, work 1 dc in the next st, ch 1. Repeat across the side, skipping 1 st between each dc.
- In the corner: Work 1 dc, ch 3, 1 dc into the corner space.
- Repeat the open stitch pattern (dc + ch 1) across all sides and complete each corner as stated.
- Join with a sl st to the top of the first ch-4.
Round 9: Final Solid Border
- Ch 3 (counts as dc). Work 1 dc in each stitch and each ch-1 space across the sides.
- In the corner: Work 2 dc, ch 2, 2 dc into the corner space.
- Continue working a solid border around the square (1 dc in each st and ch-1 space along the sides, and 2 dc + ch 2 in each corner).
- Join with a sl st to the top of the first ch-3 to close the round.
Finishing Instructions
- Fasten Off: After completing the final round, ch 1, cut the yarn, and pull through to tighten.
- Weave in Ends: Use a darning needle to weave in any loose ends securely through the back of the stitches. Trim excess yarn.
Olivia’s Tips
Once you’ve completed your Willow Granny Square, you’ll see how versatile this design truly is! It makes a lovely standalone decoration, but it’s also perfect for joining with other squares to create blankets, throws, and cushions. The detailed design adds such an elegant touch to any project.
To ensure your square looks its best, always check your stitch counts at the end of each round. This helps keep your sides even and your corners flat. Don’t forget about blocking! A light block with steam or a damp cloth can really make your stitches pop and give your square a professional finish. You can also play with color: use different colors for each round for a vibrant look, or stick to one solid color for a classic, sophisticated feel. If you want to make a larger square, simply repeat Rounds 8 and 9, adjusting your stitch counts as needed to maintain the pattern!
FAQ
- What kind of yarn is best for this granny square?
The pattern suggests Stylecraft Special DK or any Double Knit (DK) weight yarn. This weight is versatile and works well for creating defined stitches in granny squares.
- Can I make this granny square larger?
Yes, you can make the square larger by repeating Rounds 8 and 9. Just be sure to adjust your stitch counts accordingly to maintain the square’s shape and pattern.
- Why is blocking important for granny squares?
Blocking helps to even out your stitches, flatten the square, and give it a more polished and professional appearance. It can also help to bring out the details of the stitch pattern.
- What does “ch 3 counts as first dc” mean?
When the pattern states “ch 3 counts as first dc,” it means that the initial chain of three stitches at the beginning of a round should be treated as your first double crochet stitch for that round. This affects where you join and how you count your stitches.