
There’s something truly magical about handmade decorations during the holidays, don’t you agree? As soon as the air gets that crisp, wintery feel, I start dreaming of twinkling lights, warm cocoa, and crafting cozy treasures. This mini Christmas stocking pattern is one of my favorites for adding a touch of handmade charm to any festive setting.
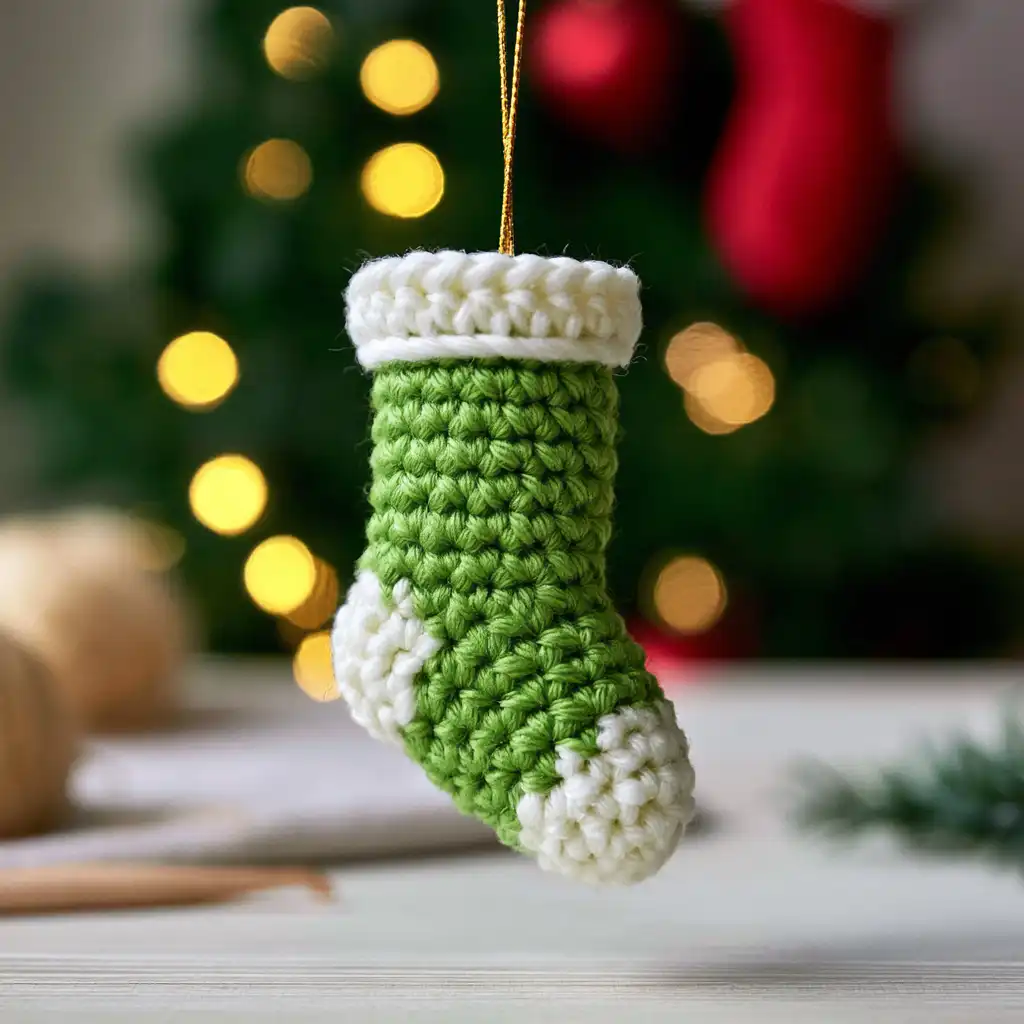
These little stockings are just the right size to fit in the palm of your hand, yet they’re big enough to tuck in tiny treats or a special note. They make wonderful ornaments for the tree, decorative accents for your mantel, or even unique gift tags. I especially love how versatile they are; you can easily customize them with different colors to match any holiday theme. Each stitch feels like I’m weaving a little bit of holiday warmth and care into something truly special.
This pattern guides you through creating a charming holiday stocking, perfect for festive decor, ornaments, or small gift holders. It features a structured toe, an afterthought heel, and a contrasting cuff, all with clean color changes and seamless finishing. It’s worked from the toe up in joined rounds, with the heel constructed in rows. While classified as advanced beginner to intermediate, the clear instructions make it very achievable, especially if you’re comfortable with basic stitches and changing colors.
Mini Christmas Stocking Crochet Pattern
Materials
- Yarn: Amigurumi brand (or similar sports weight/4 ply yarn)
- Color A: White (for toe, heel, and cuff)
- Color B: Green (for foot body and leg)
- Crochet Hook: 2.5 mm aluminum or ergonomic crochet hook
- Scissors: Sharp crochet scissors for cutting yarn tails
- Yarn Needle: Blunt-tipped tapestry needle for weaving in ends and invisible joins
- Hanging Element: 10–15 cm of twine, ribbon, or decorative cord
Finished Size
8–10 cm in height and 3.5–4 cm in width using 2 mm yarn and a 2.5 mm crochet hook. Tension and yarn selection will affect the final dimensions.
Hook and Tools
- 2.5 mm crochet hook
- Sharp crochet scissors
- Blunt-tipped tapestry needle
- 10–15 cm of twine, ribbon, or decorative cord for hanging
Abbreviations
- ch — chain
- st(s) — stitch(es)
- sl st — slip stitch
- sc — single crochet
- dc — double crochet
- hdc — half double crochet
- Dc Dec — double crochet decrease
- inc — increase
Pattern Notes
- Turning Chains: The initial chain 2 in double crochet rounds counts as the first double crochet unless otherwise stated.
- Joining Rounds: Each round ends with a slip stitch into the top of the first stitch or the initial chain.
- Color Changes: Make the last yarn over of the joining stitch with the new color for sharp color transitions.
- Tension Management: Maintain a firm, even tension to prevent gaps, especially since the stocking may hold small items or candies.
- Construction: Worked from the toe up in joined rounds. Includes a defined afterthought style heel in rows, an ankle, and a contrasting cuff.
- Skill Level: Advanced Beginner to Intermediate. Requires mastery of crochet basics, working in rows and rounds, neat color changes, accurate stitch counting, and structural shaping.
Gauge
24 stitches and 12 rows of double crochet = 10 cm x 10 cm
Note: Exact gauge is not critical, but consistent, firm tension is important for maintaining the stocking’s shape.
Special Stitches
- Double Crochet Decrease (Dc Dec): Yarn over and insert your hook into the next stitch. Yarn over and pull up a loop (3 loops on the hook). Yarn over and pull through the first two loops (2 loops left). Yarn over, insert hook into the next stitch, yarn over, and pull up a loop (4 loops on hook). Yarn over and pull through the first two loops (3 loops left). Yarn over and pull through all remaining loops.
- Invisible Join: After completing the final stitch, pull the tail up and out of the last loop. Thread the tail onto a yarn needle. Insert the needle from back to front under both top loops of the first stitch. Pull the needle through, then insert it top to bottom into the center of the last stitch, passing under the back loop only. Pull the tail gently to create a seamless join.
Instructions
Toe Section
Round 1 (Color A): Create a magic ring with white yarn. Work 10 dc into it. Pull the magic ring tight and join with a slip stitch into the top of the initial chain 2. Cut the yarn and secure with a knot.
Foot Body
Round 2 (Color B): Join green yarn to any stitch around the toe. Chain 2 (counts as first dc). Work 1 dc, 1 increase (2 dc in next st) alternately around. Finish by slip stitching to the top of the chain 2. (14 dc)
Rounds 3–4: Chain 2. Work 1 dc in each st around. Slip stitch to join. (14 dc per round) Do not fasten off. Place a marker in the loop and set it aside.
Heel Construction
Row 1 (Color A): Starting 4 stitches from where green yarn rests, join white yarn and chain 1. Work 1 hdc into each of the next 7 sts. Turn.
Row 2: Chain 2 and work 7 dc across the row. Turn.
Row 3: Chain 2, work 2 dc, 1 Dc Dec (tapering the middle), finish with 3 dc.
Closing the Heel: Remove the hook from the white yarn. Insert it into the second chain of the initial turning chain. Pull the white loop through and chain 1. Slip stitch into the inner loops along the edge to seal the heel. Cut the white yarn, secure, and weave the ends.
Leg and Ankle Section
Round 5 (Color B): Return to the green loop at the top of the foot. Begin working around the ankle opening with 1 dc in each available stitch across the toes and sides of the heel. (18 dc)
Rounds 6–7: Chain 2. Work 1 dc in each stitch around. Slip stitch to join. (18 dc per round) Fasten off the green yarn after Round 7.
Cuff
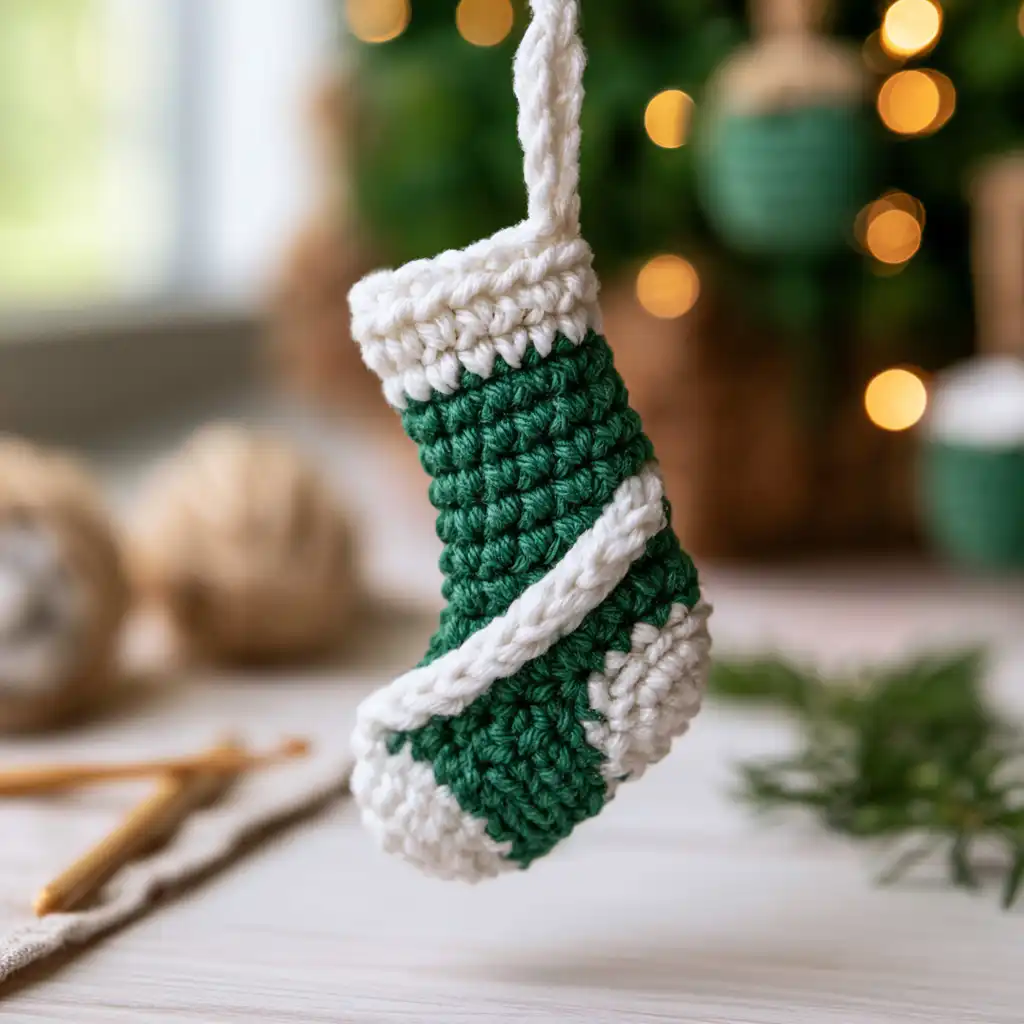
Round 8 (Color A): Join white yarn at the top green edge of the leg. Chain 2 and work 1 dc in each of the 18 sts. Use the Invisible Join to close the round seamlessly. Weave in the ends.
Finishing
- Secure All Ends: Weave all loose ends inside corresponding sections using a yarn needle.
- Attach Hanging Loop: Thread a twine or decorative cord (10–15 cm) through the top of the cuff. Tie a knot to create a loop.
Olivia’s Tips
I find that using stitch markers is incredibly helpful, especially when you’re working in the round and trying to keep track of your first stitch for joining. For projects like this with color changes, practicing your tension with each new color can really make a difference in how clean and crisp your transitions look. Don’t be afraid to experiment with different holiday color combinations – a vintage flower coaster can be a great way to test out color palettes before committing to a larger project. And remember, the joy is in the making, so take your time and enjoy the process!